
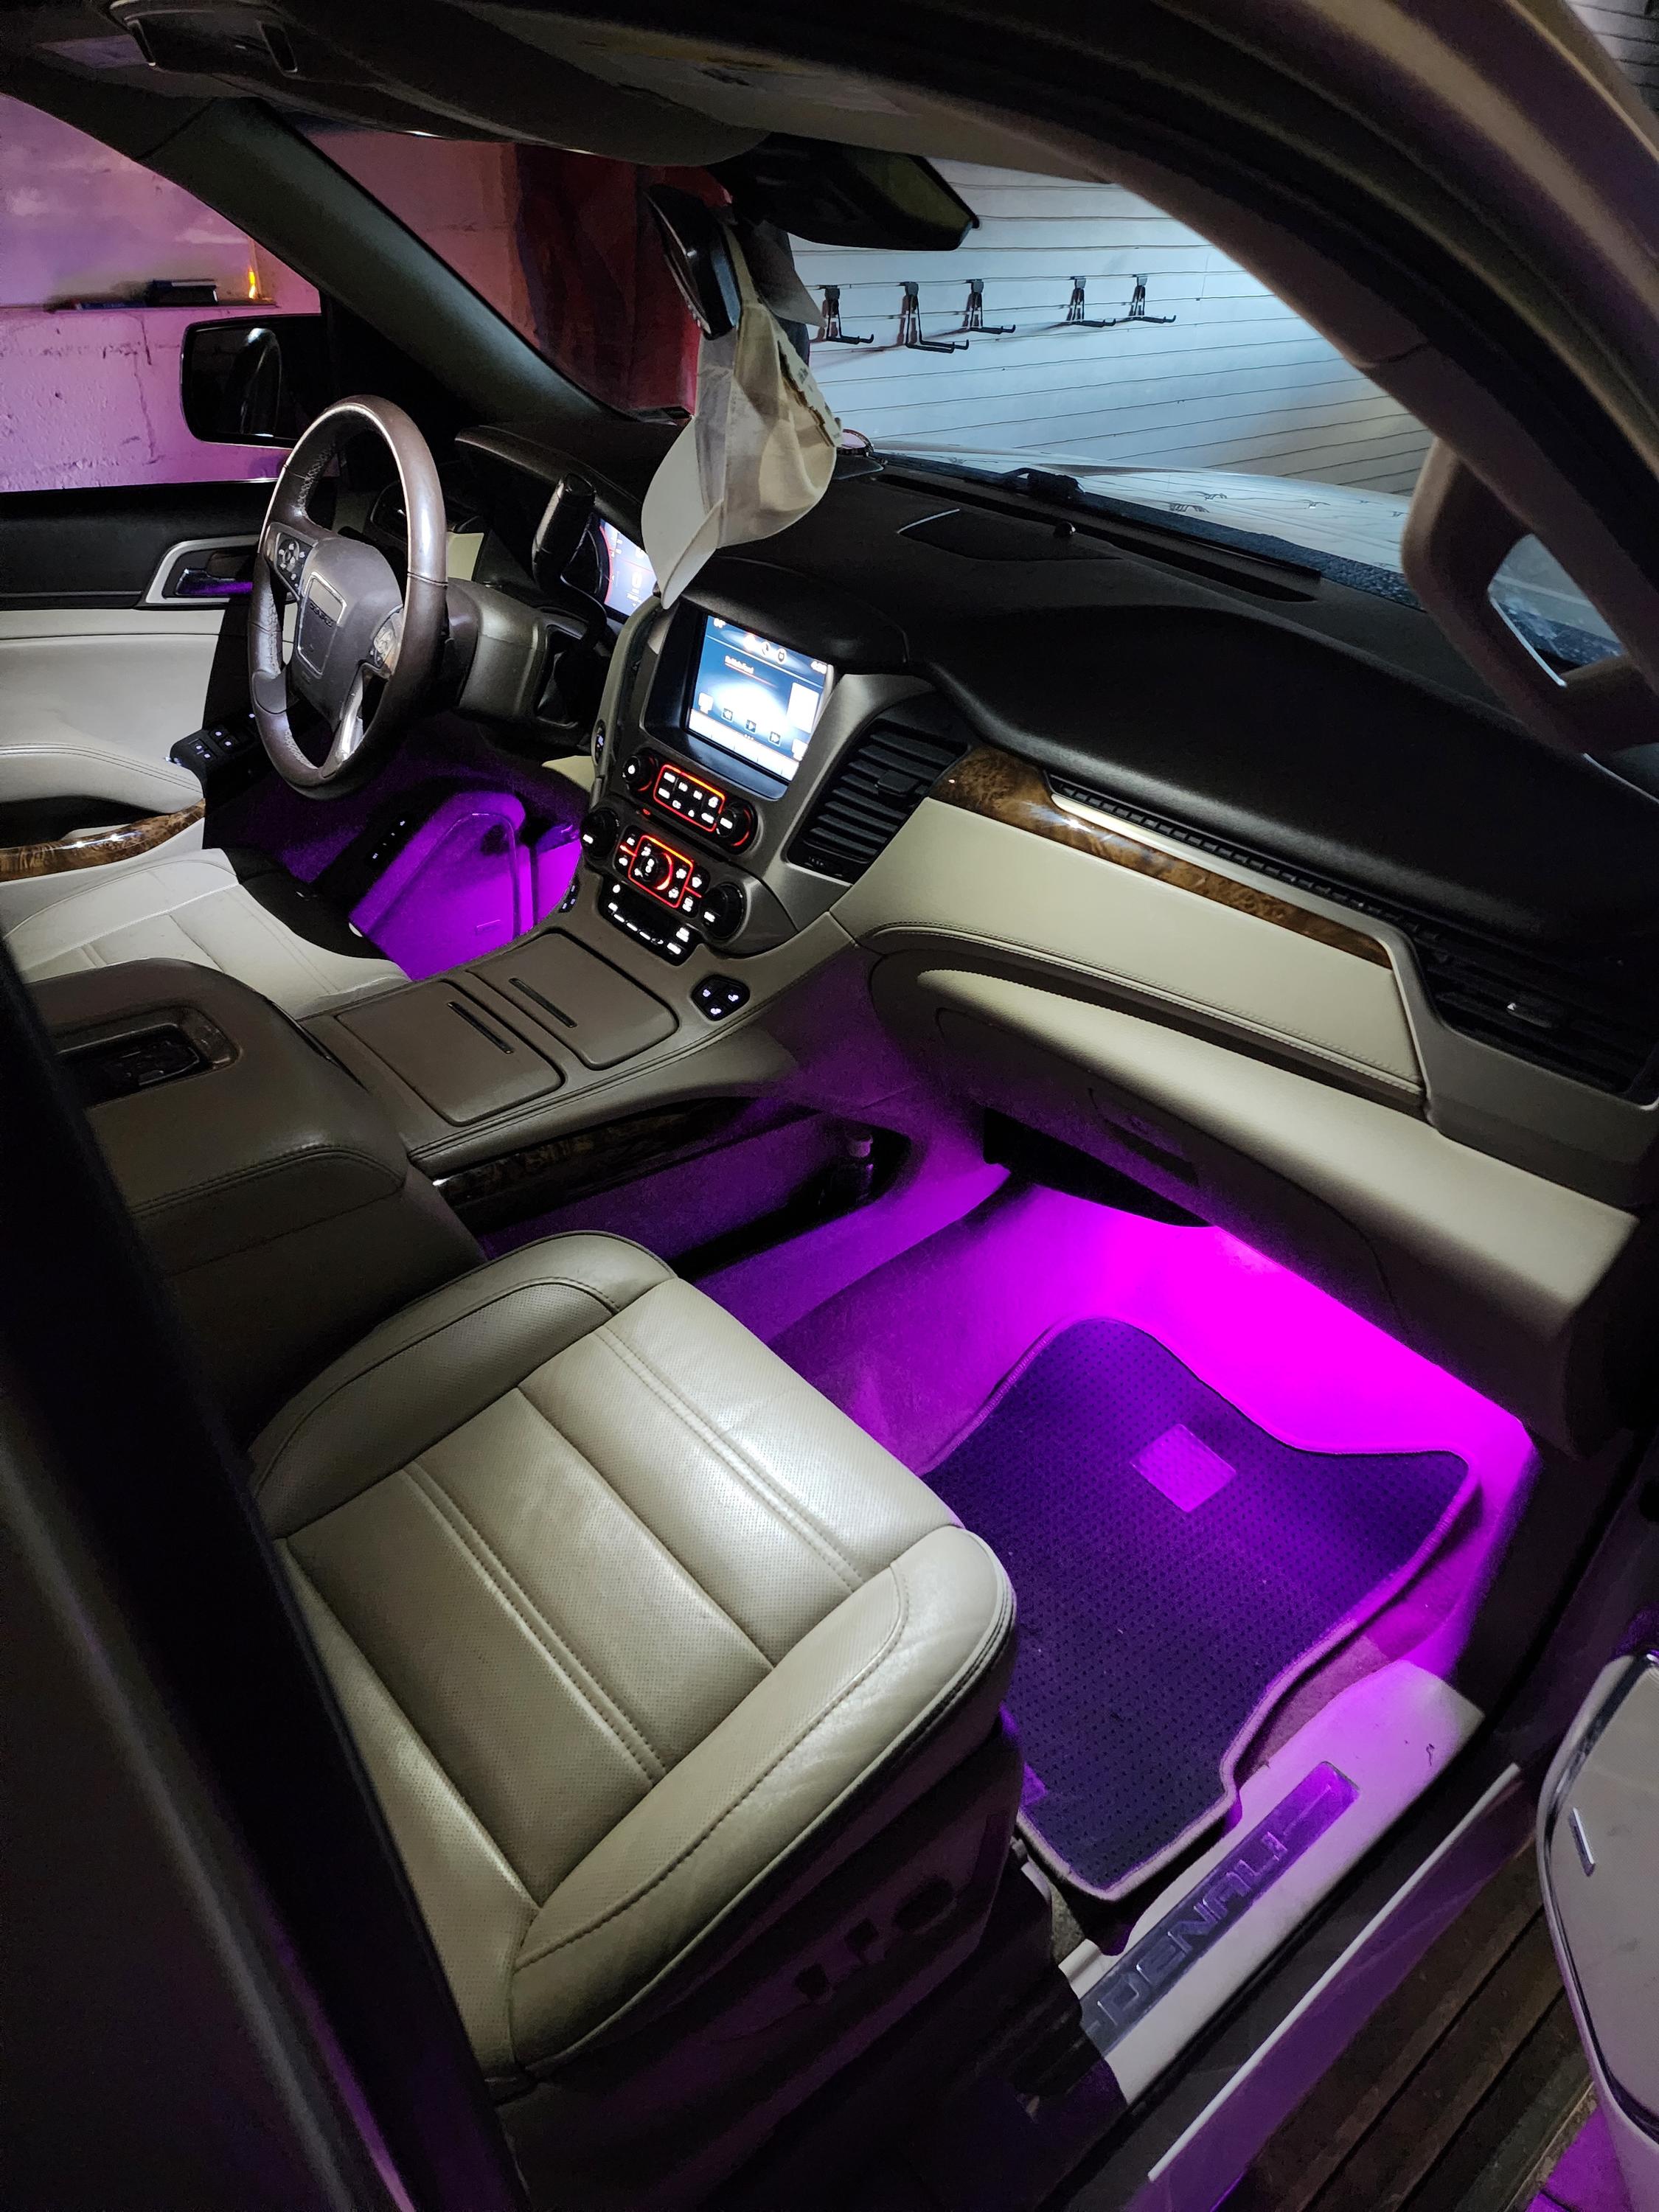
Forget dull, lifeless car interiors. You want that sleek, factory-style ambient lighting that turns heads and sets the mood every time you slide behind the wheel. Whether you’re hunting for custom car interior lighting Indianapolis or searching “ambient lighting install car Indy,” this guide shows how to bring that high-end glow to your ride. Ready to learn how LED footwell lighting and starlight headliner installation near me can give your car a fresh, luxury vibe?
Why Ambient LED Lighting Changes Everything
You’ve seen it in the showroom. That soft, colorful glow emanating from the door panels, dashboard, and footwells of high-end rides. It’s not just about seeing better at night (though that’s a nice bonus). It’s about creating an atmosphere that makes every drive feel special.
Think about the last time you sat in a new Mercedes S-Class or BMW 7 Series. That ambient lighting isn’t just thrown in there randomly. It’s carefully designed to make you feel like you’re in something special. And here’s the good news: you don’t need to drop $100k on a new luxury car to get that same feeling.
Modern LED technology has made it possible to add factory-quality ambient lighting to virtually any vehicle. Whether you’re driving a 2015 Honda Civic or a 2008 Mustang, you can transform your interior into something that rivals the newest luxury models rolling off the assembly line.
Understanding Factory-Style Ambient Lighting
So what exactly makes lighting “factory-style” versus just sticking some LED strips under your seats?
Factory ambient lighting systems use several key components working together. First, there’s the quality of the LEDs themselves. Cheap LED strips from online marketplaces often have uneven color distribution, visible hot spots, and colors that don’t match across different strips.
Real factory systems use high-quality LEDs with proper diffusion. This means the light spreads evenly without bright spots or dark patches. The color temperature stays consistent, and when you select a color, it looks the same whether it’s coming from the door panel or the center console.
Second, factory systems integrate with your car’s existing electrical system properly. They don’t just tap into random power sources. They’re wired correctly with proper fusing, clean connections, and often tie into your vehicle’s CAN bus system so they respond to door openings, ignition status, and dimmer controls.
Third, the placement matters. Factory engineers spend time figuring out exactly where to position lights for maximum effect without creating glare or distraction. They hide the light sources themselves while letting the glow shine through.
Planning Your Custom Car Interior Lighting Indianapolis Project
Before you start tearing apart your interior, let’s talk planning. This is where a lot of DIY projects go sideways.
Start by sitting in your car at night and really looking at where light would make the biggest impact. Common areas include:
Door Panels: Light strips along the bottom or integrated into the door pull areas create a welcoming glow when you open the door.
Dashboard and Center Console: Subtle lighting along the edges or under overhangs adds depth without causing windshield glare.
Footwells: LED footwell lighting is probably the most popular starting point. It’s relatively easy to install and makes a huge visual impact.
Cup Holders: Small accent lights here look surprisingly good and actually help you find your drink at night.
Overhead Areas: This is where starlight headliner installation near me searches come into play. We’ll talk more about this later.
Sketch out your plan. Take photos of your interior and mark where you want lights. Think about wire routing. How will you get power from the fuse box to each location? Where will you hide the controller?
If you’re in the Indianapolis area and this sounds overwhelming, shops specializing in ambient lighting install car Indy services can help with the planning phase even if you decide to tackle some of the work yourself.
Choosing the Right LED Components
Not all LED strips are created equal. Let me save you some headache here.
For a factory look, you want addressable RGB LED strips with good color rendering. The most common types are WS2812B or SK6812 strips. These allow individual LED control, which means smoother color transitions and effects.
Look for strips with at least 60 LEDs per meter for smooth, even lighting. Anything less and you’ll see individual LED dots instead of a continuous glow.
The IP rating matters too. IP65 rated strips have a silicone coating that protects against moisture and makes them more durable. Since car interiors can get humid and you might spill drinks, this protection is worth it.
You’ll also need a controller. For basic setups, a simple RF remote controller works fine. Want something fancier? Bluetooth controllers let you control everything from your phone. Some can even sync with your music, though honestly, that feature gets old quick for most people.
Don’t forget about power supplies and wiring. Calculate your total LED strip length and make sure your power supply can handle it. Most setups run on 12V, which is perfect since that’s what your car provides.
Installing LED Footwell Lighting: A Great Starting Point
Let’s get practical. LED footwell lighting is the perfect first project because it’s visible, impactful, and relatively straightforward.
You’ll need LED strips cut to length for each footwell (front and rear), a controller, wire, connectors, and some basic tools. A trim removal kit saves you from scratching up your interior panels.
Start by removing the lower dash panels or kick panels where you’ll mount the strips. Most cars have plastic clips holding these in place. Be gentle. Broken clips are annoying to replace.
Clean the mounting surface with rubbing alcohol. This helps the adhesive backing on LED strips stick properly. Let it dry completely.
Measure and cut your LED strips to length. Most strips have cut marks every few LEDs. Only cut at these marks or you’ll damage the strip.
Mount the strips so they point downward and slightly forward. You want the light to wash across the floor, not shine directly at your feet or create glare on the windows.
Route your wires carefully. Tuck them behind existing trim and secure them with zip ties or wire clips. Keep wires away from moving parts like pedals or seat tracks.
For power, the easiest option is tapping into your car’s fuse box. Find a fuse that’s only powered when the ignition is on (like the accessory circuit). Use an add-a-fuse adapter. This is cleaner and safer than splicing into existing wires.
Ground your system to a solid metal point. Scrape away any paint where you attach the ground wire to ensure good contact.
Mount your controller somewhere accessible but hidden. Under the dash or in the center console area usually works well.
Test everything before you button it all back up. Seriously, don’t skip this step. It’s way easier to troubleshoot with panels off than after you’ve reassembled everything.
Taking It Further: Door Panel and Dashboard Lighting
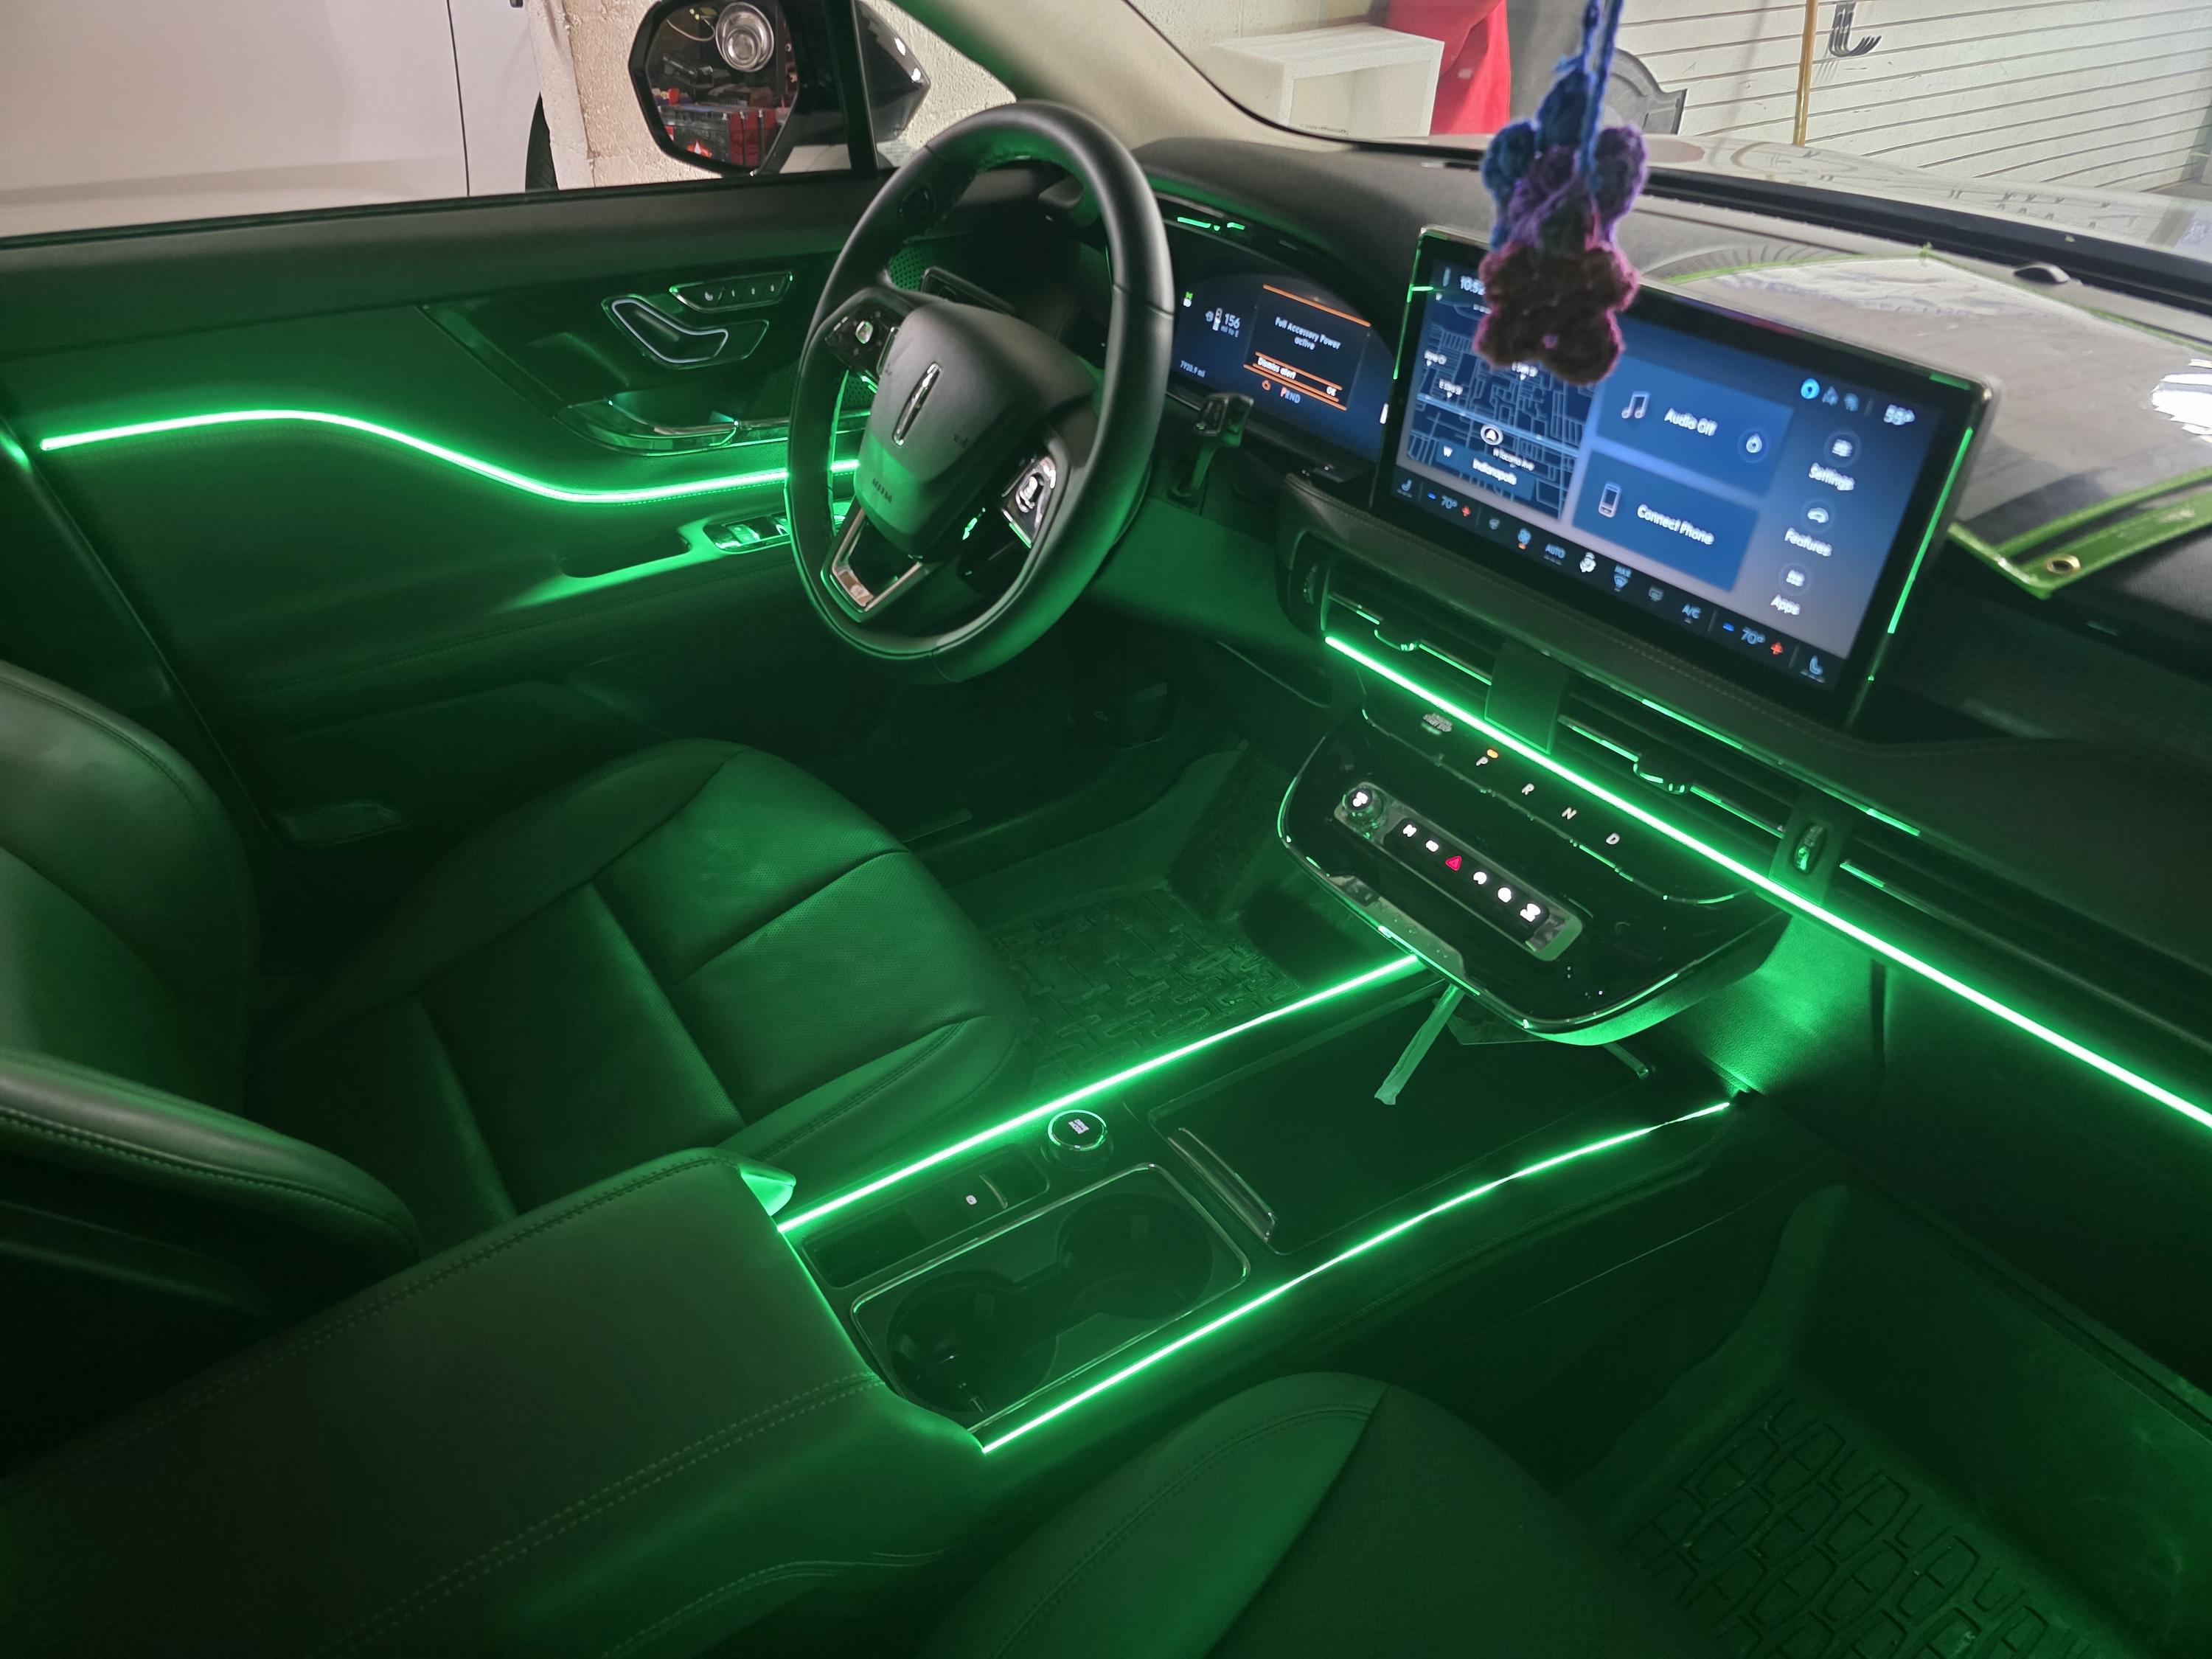
Once you’ve got footwell lighting sorted, door panels and dashboard areas are the natural next step.
Door panel installation requires more disassembly. You’ll need to remove the door panels completely. Every car is different, so look up a guide specific to your make and model. There are usually hidden screws and clips you need to release.
For door lighting, the goal is creating a glow along the bottom edge or around door pulls. This requires careful placement so the LEDs themselves aren’t visible when you look at the door.
One trick is creating a small channel or recess where the LED strip sits. Use thin plastic or aluminum channel designed for LED strips. This diffuses the light and hides the individual LEDs.
Dashboard lighting is trickier because you absolutely cannot create glare on the windshield. This is dangerous and will make night driving miserable.
The key is keeping lights low and angled away from the windshield. Under the dashboard lip, behind trim pieces, or in the lower center console area all work well.
Use amber or warm white colors in the dashboard area. These are less distracting than bright blues or purples while driving.
The Crown Jewel: Starlight Headliner Installation
Want to go all out? A starlight headliner is the ultimate ambient lighting upgrade. It transforms your headliner into a night sky.
This isn’t a beginner project. If you’re searching for “starlight headliner installation near me,” you’re smart to consider professional help. But let’s talk about what’s involved.
A starlight headliner uses fiber optic cables or individual LEDs poked through your headliner fabric. Each point of light becomes a “star.” Some systems use different colors or twinkling effects.
The fiber optic method uses a light source (LED module) that feeds hundreds of thin fiber optic strands. Each strand is poked through the headliner at random intervals to create a starfield effect. The ends are trimmed flush and often have a small piece of crystal or glass attached to catch the light.
The LED method uses tiny individual LEDs wired together and poked through the headliner. This allows for more color control and effects but requires more wiring.
Both methods require removing your headliner, which in most cars means removing a lot of interior trim, the sun visors, grab handles, and sometimes even seats to get the headliner out.
Professional shops offering custom car interior lighting Indianapolis services have the experience and tools to do this without damaging your headliner or trim. They also know how to make the star pattern look natural rather than obviously patterned.
Expect to invest $800 to $2,500 for professional starlight headliner installation near me, depending on your vehicle size and the complexity of the system. It’s pricey, but the result is absolutely stunning.
Integrating with Your Car’s Systems
Here’s where you can separate a good install from a great one: system integration.
Basic setups just turn on when you flip a switch. That works, but it’s not very “factory.”
Better systems tie into your car’s door triggers so lights come on when you open a door. They dim when you start the car. They turn off automatically after a set time.
Some cars have a CAN bus system that broadcasts information about door status, ignition, and lighting. With the right adapter, you can tap into this and make your ambient lighting respond just like factory equipment.
For example, you can program your lights to:
-
Glow brightly when you unlock the car
-
Dim when you start the engine
-
Turn off completely when you shift into drive
-
Come back on dimly when parked
-
Flash as a visual alert for texts or calls (if integrated with your phone)
This level of integration usually requires a programmable controller or a shop with experience in automotive electrical systems. If you’re looking for ambient lighting install car Indy services that include this kind of integration, ask specifically about CAN bus integration and smart features.
Color Theory and Practical Choices
You’ve got millions of colors available with RGB lighting. Which should you use?
Here’s the thing: not all colors work well in a car interior.
Red: Classic choice. Easy on the eyes at night. Doesn’t kill your night vision like white or blue. Great for a sporty feel.
Amber/Orange: Warm and inviting. Works well with tan or brown interiors. Less distracting than cooler colors.
White: Clean and modern. Use warm white (3000K) rather than cool white for a more upscale look. Be careful with brightness to avoid glare.
Blue: Popular but can be harsh. If you use blue, keep it dim. Works well mixed with white for a cool, techy vibe.
Green: Surprisingly nice, especially a teal or cyan shade. Unique without being distracting.
Purple/Magenta: Looks cool in photos but can be tiring in person. Use sparingly or for special occasions.
Most people end up with a few favorite colors they rotate between rather than constantly changing. I usually recommend starting with a warm white or amber as your daily driver color, then having fun colors available for weekend cruises or showing off.
Troubleshooting Common Issues
Let’s talk about what can go wrong and how to fix it.
Flickering lights: Usually a power issue. Check your connections, especially your ground. Make sure your power supply can handle the total LED load. Some cars have voltage fluctuations when starting or with the AC compressor cycling. An inline capacitor can smooth this out.
Color inconsistency: If one strip looks different from another, you might have different batches of LEDs or a voltage drop issue. LEDs at the end of a long run can look dimmer or shift color. The fix is either shorter runs with separate power injection points or using thicker gauge wire.
Adhesive failure: LED strips falling off is super annoying. The adhesive backing on most strips isn’t great. Clean the surface better (rubbing alcohol, let it dry), and add extra security with clear silicone or small zip tie mounts.
Controller not responding: Check batteries in your remote. Make sure the controller is getting power. Some controllers need to be reset by unplugging and plugging back in.
Lights staying on and draining battery: Your power source might be hot all the time instead of switched. Move to a different fuse that only has power with ignition on, or add a relay that’s triggered by an ignition-switched source.
Professional Installation vs. DIY
Let’s be real about when to DIY and when to call in the pros.
DIY makes sense if:
-
You’re comfortable working with basic electrical systems
-
You have time and patience
-
You’re okay with a learning curve and possible do-overs
-
You’re starting with simple areas like footwells
-
You enjoy working on your car
Professional installation makes sense if:
-
You’re doing complex work like headliners or dash integration
-
Your car has tricky trim removal (looking at you, German cars)
-
You want CAN bus integration
-
Time is more valuable than money for you
-
You want a warranty on the work
For those in central Indiana, shops offering custom car interior lighting Indianapolis services typically charge $500 to $1,500 for a complete ambient lighting system, not including starlight headliners. That’s for quality installation with proper wire routing, integration, and clean results.
You can DIY the same project for $200 to $500 in parts, but plan on spending a full weekend or more on the install.
Maintenance and Longevity
Good news: once properly installed, LED ambient lighting is pretty much maintenance-free.
Quality LEDs last 50,000+ hours. At a few hours a day, that’s years of use. The controller and wiring should last the life of your vehicle if installed correctly.
The main thing is keeping connections clean and secure. If you live somewhere with extreme temperature swings or high humidity, check your connections annually. Look for any corrosion on exposed metal parts.
If a section of LEDs stops working, it’s usually a connection issue rather than the LEDs themselves failing. Check the wire connections near the dead section.
Keep your controller’s remote in a safe place. Replacements can be hard to find if you lose it.
Legal Considerations
Quick word on legality: laws about interior lighting vary by location.
Generally, interior ambient lighting is legal as long as it:
-
Doesn’t distract other drivers
-
Doesn’t mimic emergency vehicle colors (red and blue flashing)
-
Doesn’t create excessive glare
Some states have specific rules about red or blue interior lights. Check your local regulations.
The good news is that properly installed ambient lighting is designed not to be visible from outside the vehicle, so it rarely causes legal issues.
Wrapping Up Your Lighting Project
You’ve got the knowledge. You know the components, the installation process, and what separates amateur work from professional results.
Whether you’re installing LED footwell lighting yourself or searching for “ambient lighting install car Indy” to find a pro shop, you now know what to expect and what questions to ask.
Remember, start simple. Get your footwells done first. See how you like working with the LEDs and controllers. Then expand to doors, dashboard, and if you’re feeling ambitious, look into starlight headliner installation near me options.
The best part about modern LED lighting? It’s completely reversible. If you move on to a different car or just want to change things up, you can remove everything and return your interior to stock. Or more likely, you’ll love it so much that your next car gets the same treatment.
Your car is more than transportation. It’s your space. Make it feel special every time you get in. That factory luxury vibe isn’t just for new $80k cars anymore. With some planning and the right components, your ride can have that same high-end atmosphere.
Got questions about your specific vehicle or installation? Most shops offering custom car interior lighting Indianapolis services are happy to chat even if you’re not ready to book an install yet. They’d rather answer questions upfront than fix a DIY project that went sideways.
Now get out there and light up your ride. Trust me, the first time you open your door at night and see that perfect ambient glow, you’ll know it was worth it.
Frequently Asked Questions
How much does it cost to install ambient LED lighting in a car?
DIY ambient lighting installations typically cost $200 to $500 in materials for a complete system including footwells, doors, and dashboard. Professional installation runs $500 to $1,500 depending on complexity, not including advanced features like starlight headliners which can add $800 to $2,500 to the total.
Can I install LED footwell lighting myself without experience?
Yes, LED footwell lighting is an excellent beginner project requiring only basic tools and minimal electrical knowledge. The process involves mounting LED strips, running wires behind trim panels, and connecting to a switched power source in your fuse box. Most people complete footwell installations in 3 to 5 hours.
Will ambient lighting drain my car battery?
Properly installed ambient lighting connected to an ignition-switched power source will not drain your battery. The system only draws power when your ignition is on, and modern LED strips use minimal power (typically 5 to 20 watts total). Always wire to a switched circuit rather than a constant power source.
What’s the difference between cheap and quality LED strips?
Quality LED strips feature even color distribution, consistent brightness across the entire length, proper IP65 waterproof coating, and 60+ LEDs per meter for smooth lighting. Cheap strips often have visible hot spots, color inconsistencies between strips, poor adhesive, and shorter lifespans. The visual difference is immediately noticeable in the final result.
How long does a starlight headliner installation take?
Professional starlight headliner installation typically takes 8 to 16 hours depending on vehicle complexity and the number of fiber optic strands or LEDs being installed. The process requires complete headliner removal, careful drilling or poking of hundreds of holes, routing fibers or wiring, and precise reassembly of all interior trim components.