Can You Upgrade the Sound System in a Tesla or Hybrid EV Without Draining Your Battery?
Upgrading your Tesla or hybrid’s sound system sounds great until you worry about killing your battery or voiding your warranty. Many in Carmel, Fishers, and Zionsville hesitate because better audio often means more power draw. What if you could get a top-tier EV car audio upgrade Indianapolis drivers trust, without sacrificing range or risking damage? Let’s explore how to boost your sound without draining your electric vehicle’s power.
Understanding Power Consumption in Electric Vehicle Audio Systems
Why EV Owners Worry About Audio Upgrades
You’re not alone if you’ve hesitated to upgrade your sound system. The concern makes total sense. Your Tesla, Rivian, or hybrid relies on every bit of battery power to get you where you’re going. Will adding a powerful amplifier or subwoofer mean you’ll be stopping to charge more often?
Here’s the thing: modern car audio equipment is way more power-efficient than you might think. The reality is that a well-designed EV car audio upgrade Indianapolis professionals install will have minimal impact on your driving range. We’re talking about such a small percentage that you probably won’t even notice it in your daily driving.
The Real Numbers Behind Power Consumption Car Audio Electric Vehicle Systems Use
Let’s break down the actual power draw. A typical aftermarket amplifier for a Tesla subwoofer installation Indy shops might recommend draws between 50 and 200 watts when playing at moderate volumes. Compare that to your Tesla Model 3’s battery capacity of 75,000 watts (75 kWh), and you’re looking at a tiny fraction of total power.
Even if you’re blasting music at high volumes for an entire hour, you might use 0.2 kWh of battery power. That’s less than a mile of driving range. Most of us aren’t cranking the volume to maximum for extended periods anyway, right?
Your climate control system actually uses way more power than any audio upgrade ever will. Running your AC or heat can draw 3,000 to 5,000 watts, making your sound system’s power consumption almost negligible by comparison.
Smart Approaches to Hybrid Vehicle Stereo Upgrade Projects
Choosing Efficient Components
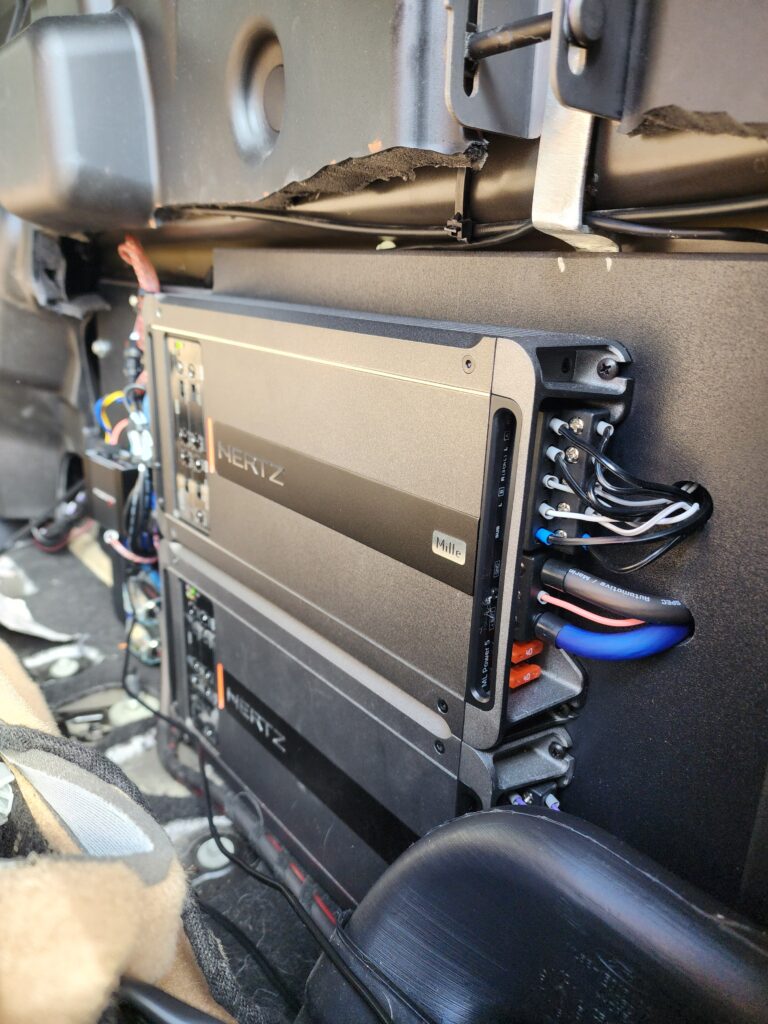
The key to a successful hybrid vehicle stereo upgrade starts with selecting the right components. Modern Class D amplifiers are your best friend here. These amps convert power much more efficiently than older Class A or AB designs, wasting less energy as heat.
When you’re shopping for components, look for amplifiers with efficiency ratings above 80%. Many current models hit 85% or even 90% efficiency. This means more of your battery power goes into making sound instead of just heating up your trunk.
DSP (digital signal processing) amplifiers are another smart choice. They let you fine-tune your system’s sound while keeping power consumption low. You can get incredible audio quality without needing massive amounts of power.
The Subwoofer Question
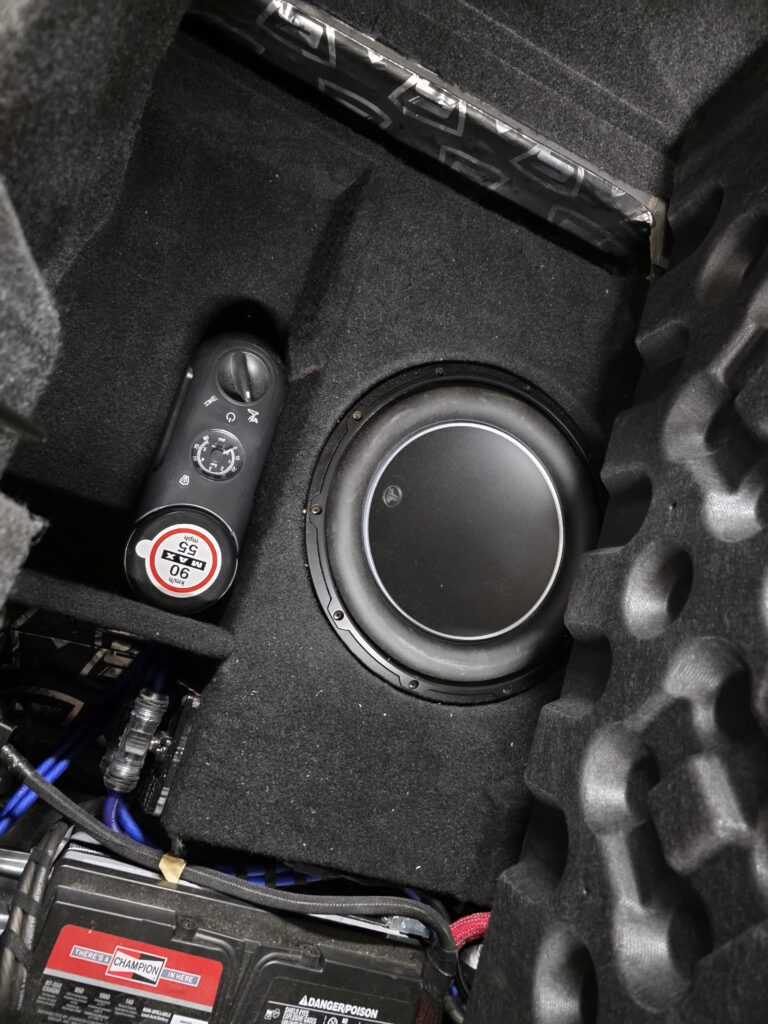
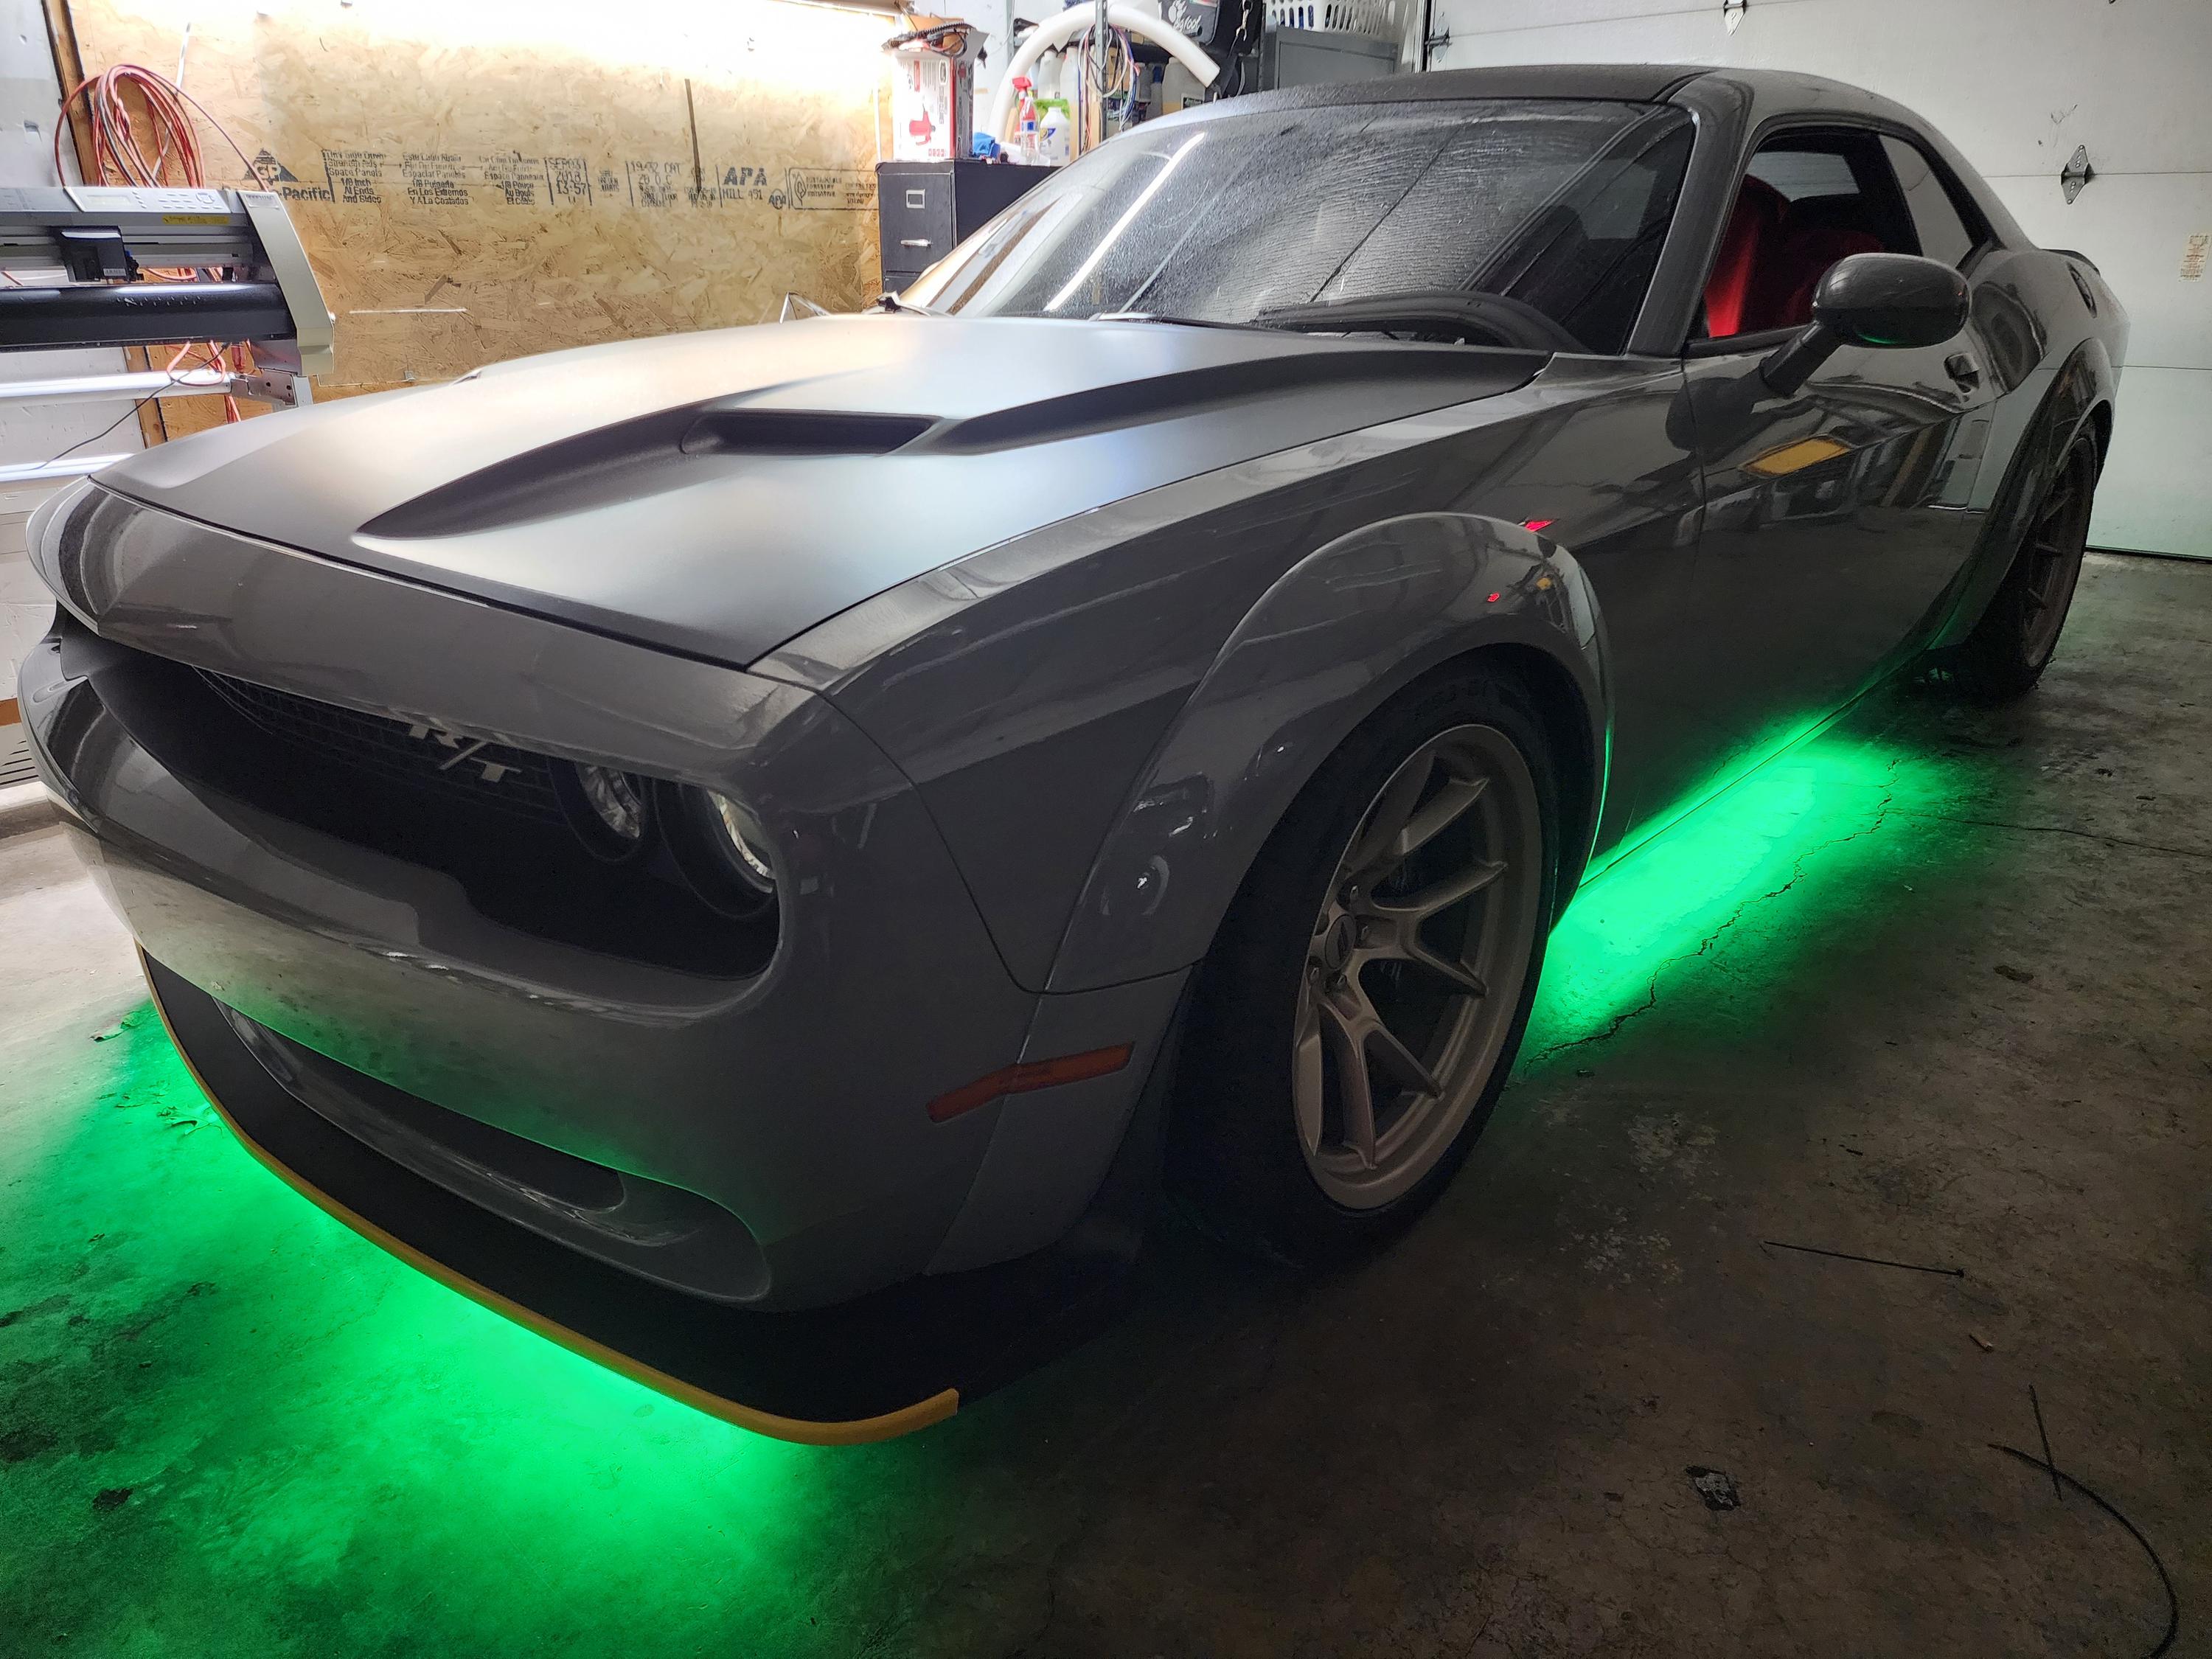
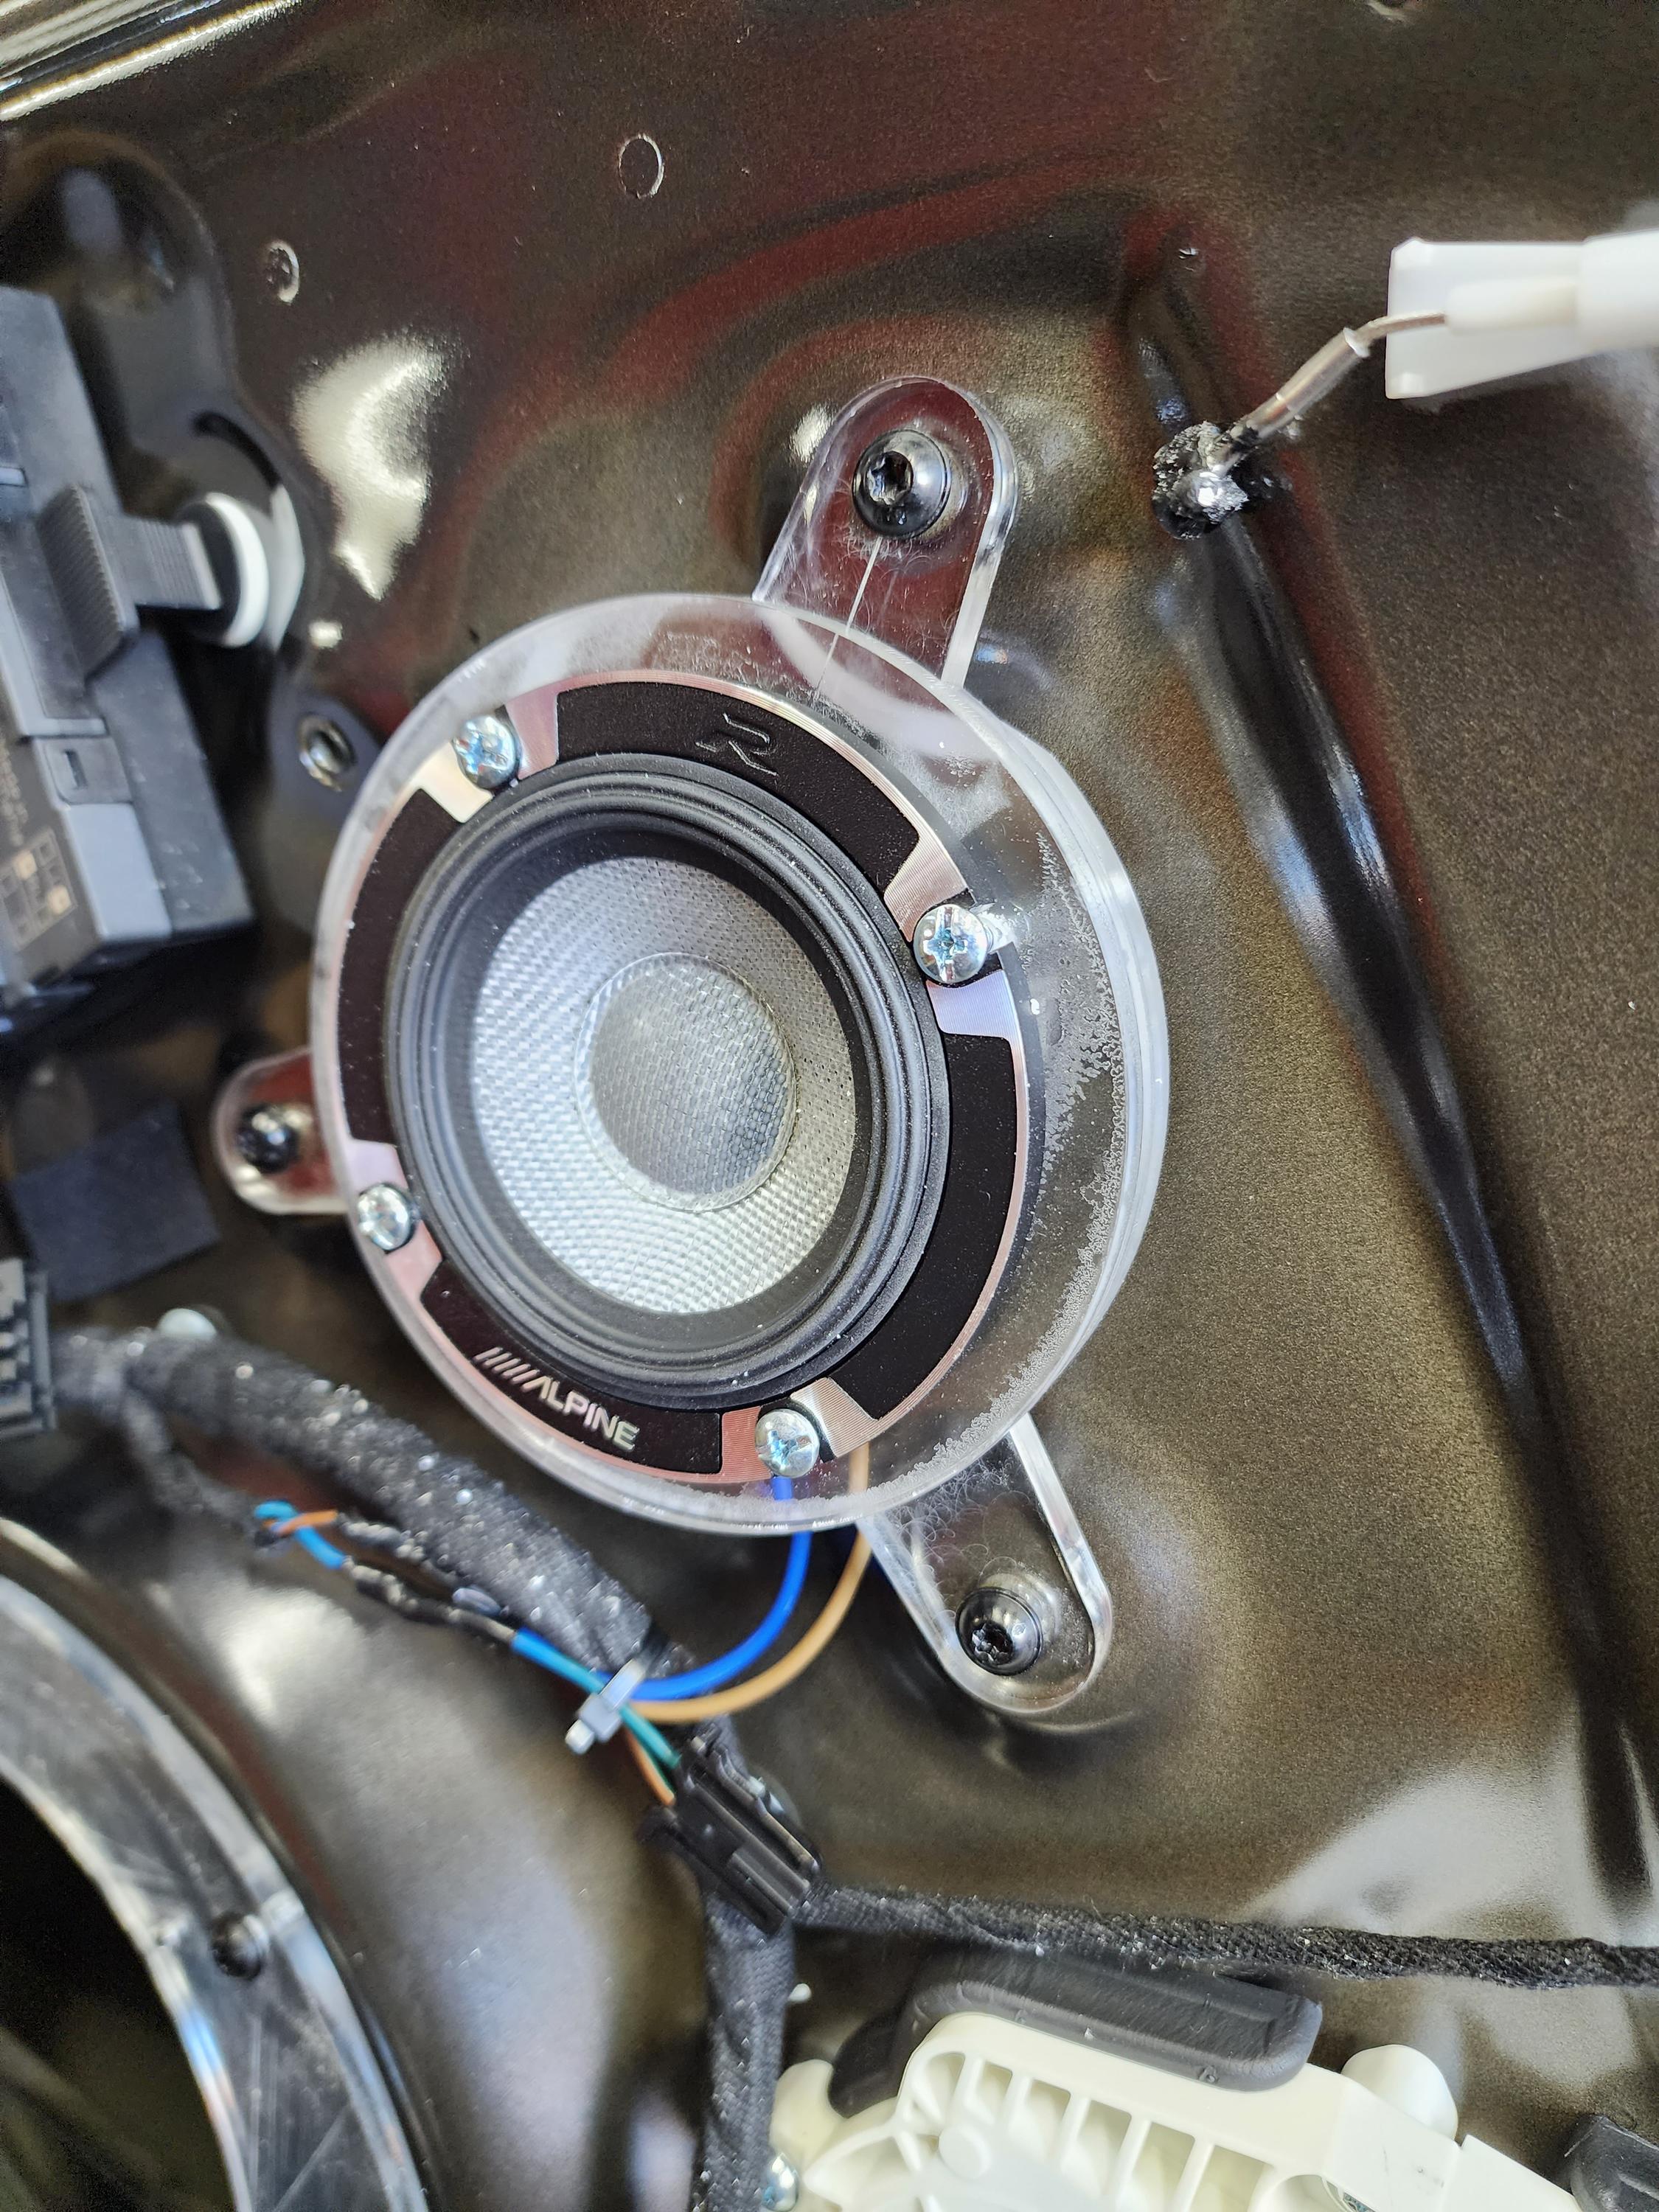
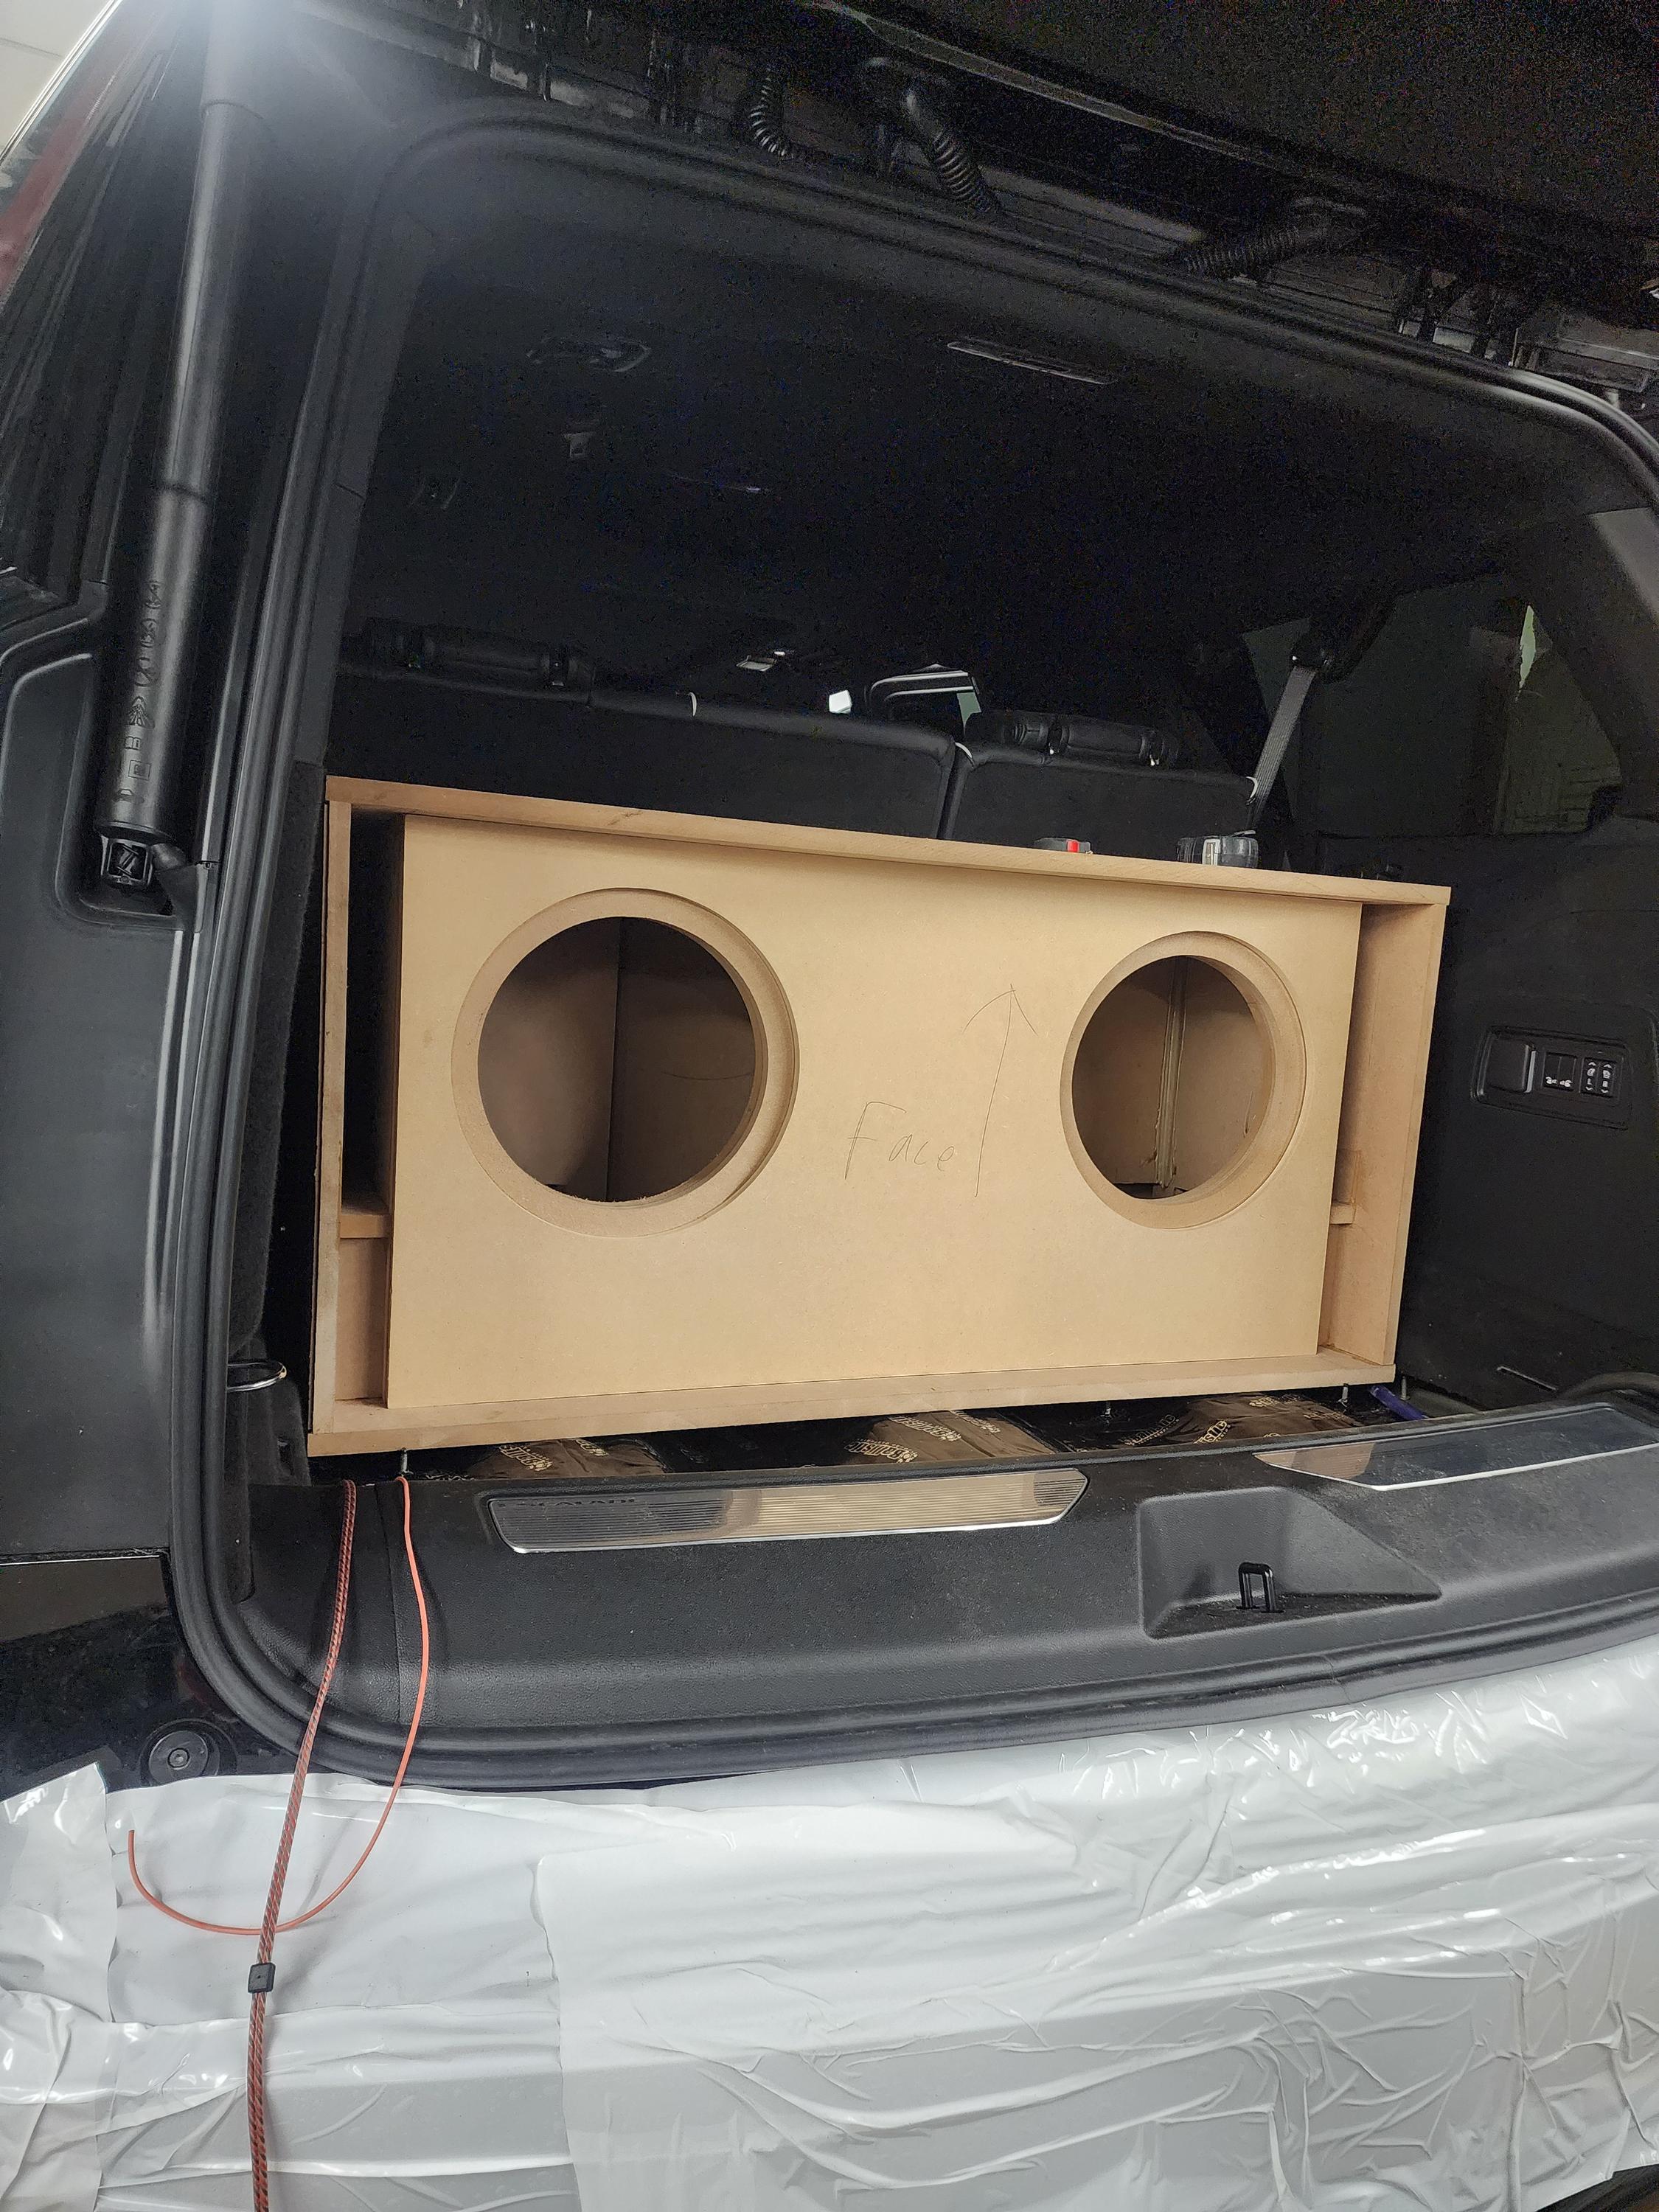
Want that deep bass in your Tesla? A Tesla subwoofer installation Indy experts perform doesn’t have to be a battery killer. The trick is choosing the right size and type of subwoofer for your needs.
A single 10-inch or 12-inch subwoofer in a properly designed enclosure can give you plenty of bass without requiring a huge amplifier. You don’t need a 1,000-watt monster amp to get good low-frequency response. A quality 300 to 500-watt amplifier paired with an efficient subwoofer will give you all the bass you need for most listening situations.
Sealed enclosures are often better for EVs than ported boxes. They’re more compact, which means less weight (and weight matters for range), and they typically require less power to produce clean bass.
Protecting Your Warranty While Upgrading
What Tesla and Other EV Manufacturers Actually Say
Here’s what keeps a lot of folks up at night: will modifying your audio system void your warranty? The short answer is: probably not, as long as you do it right.
Under the Magnuson-Moss Warranty Act, manufacturers can’t void your entire warranty just because you modified one system. They’d have to prove that your audio upgrade directly caused a specific problem. If your motor fails, they can’t blame it on your new speakers.
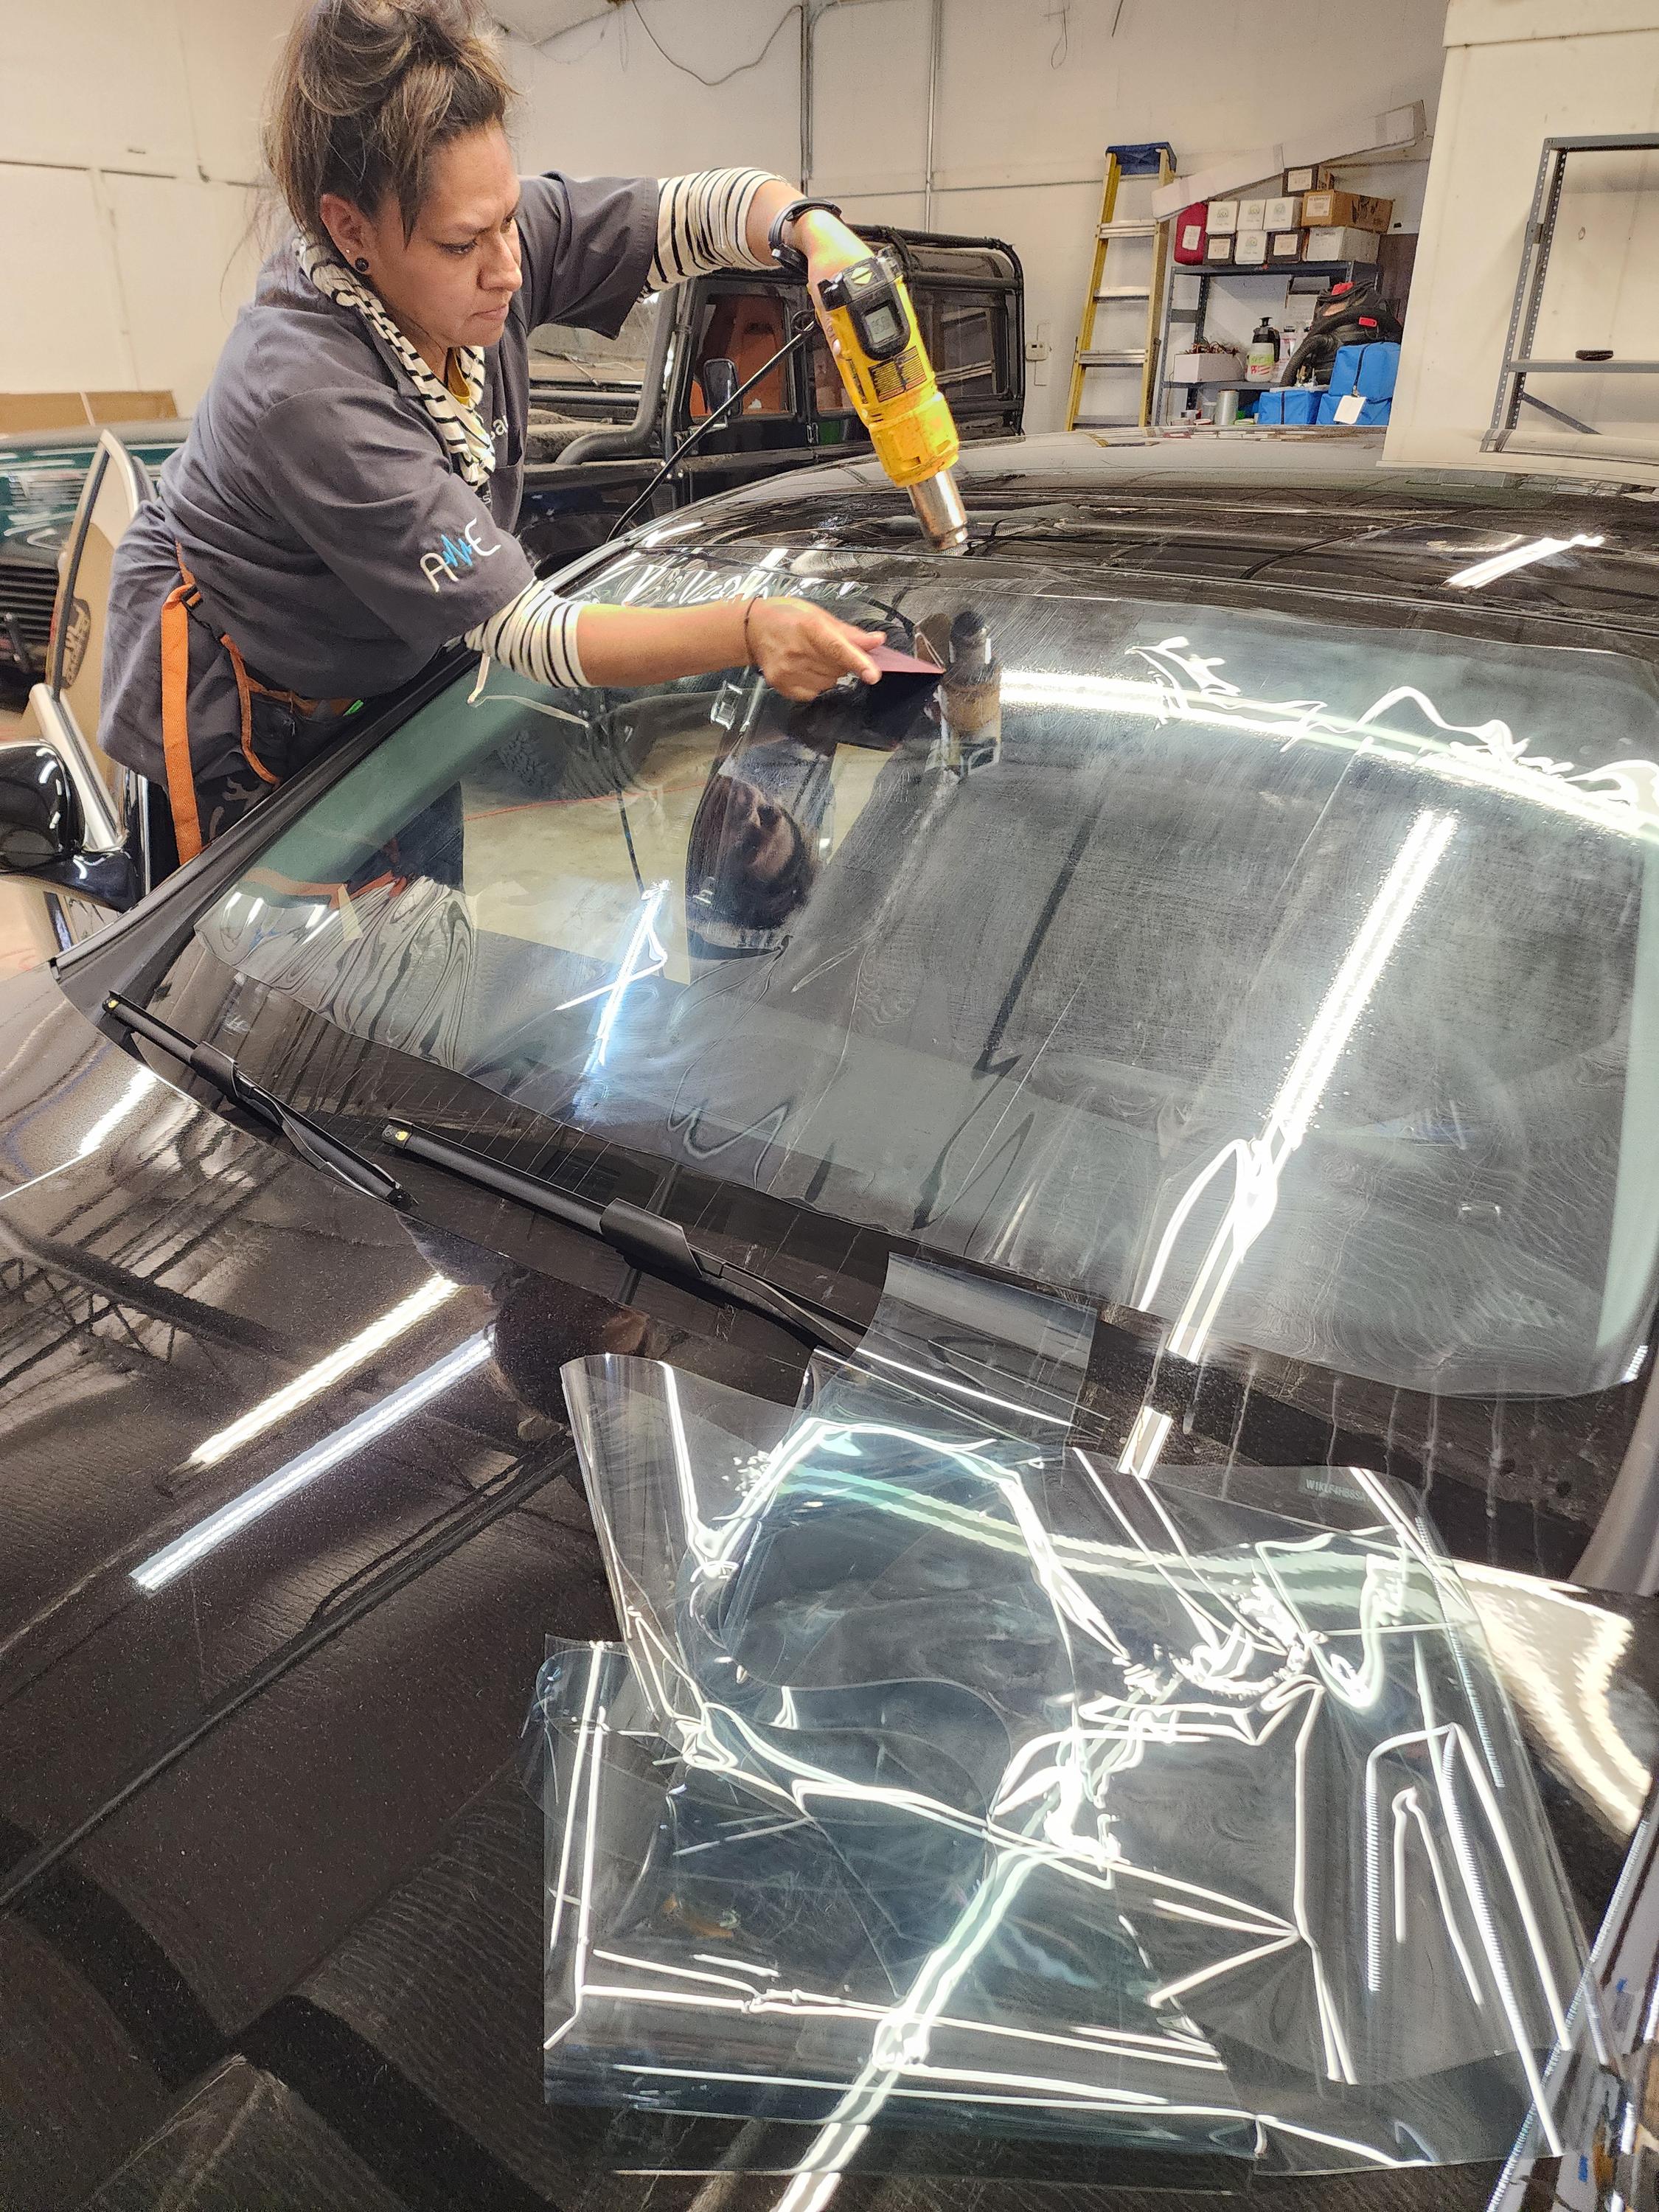
That said, you want to be smart about this. Avoid cutting factory wiring harnesses when possible. Use plug-and-play adapters and harnesses that let you connect aftermarket equipment without permanently altering factory components. This way, if you ever need warranty service, you can return everything to stock.
Working with Professional Installers
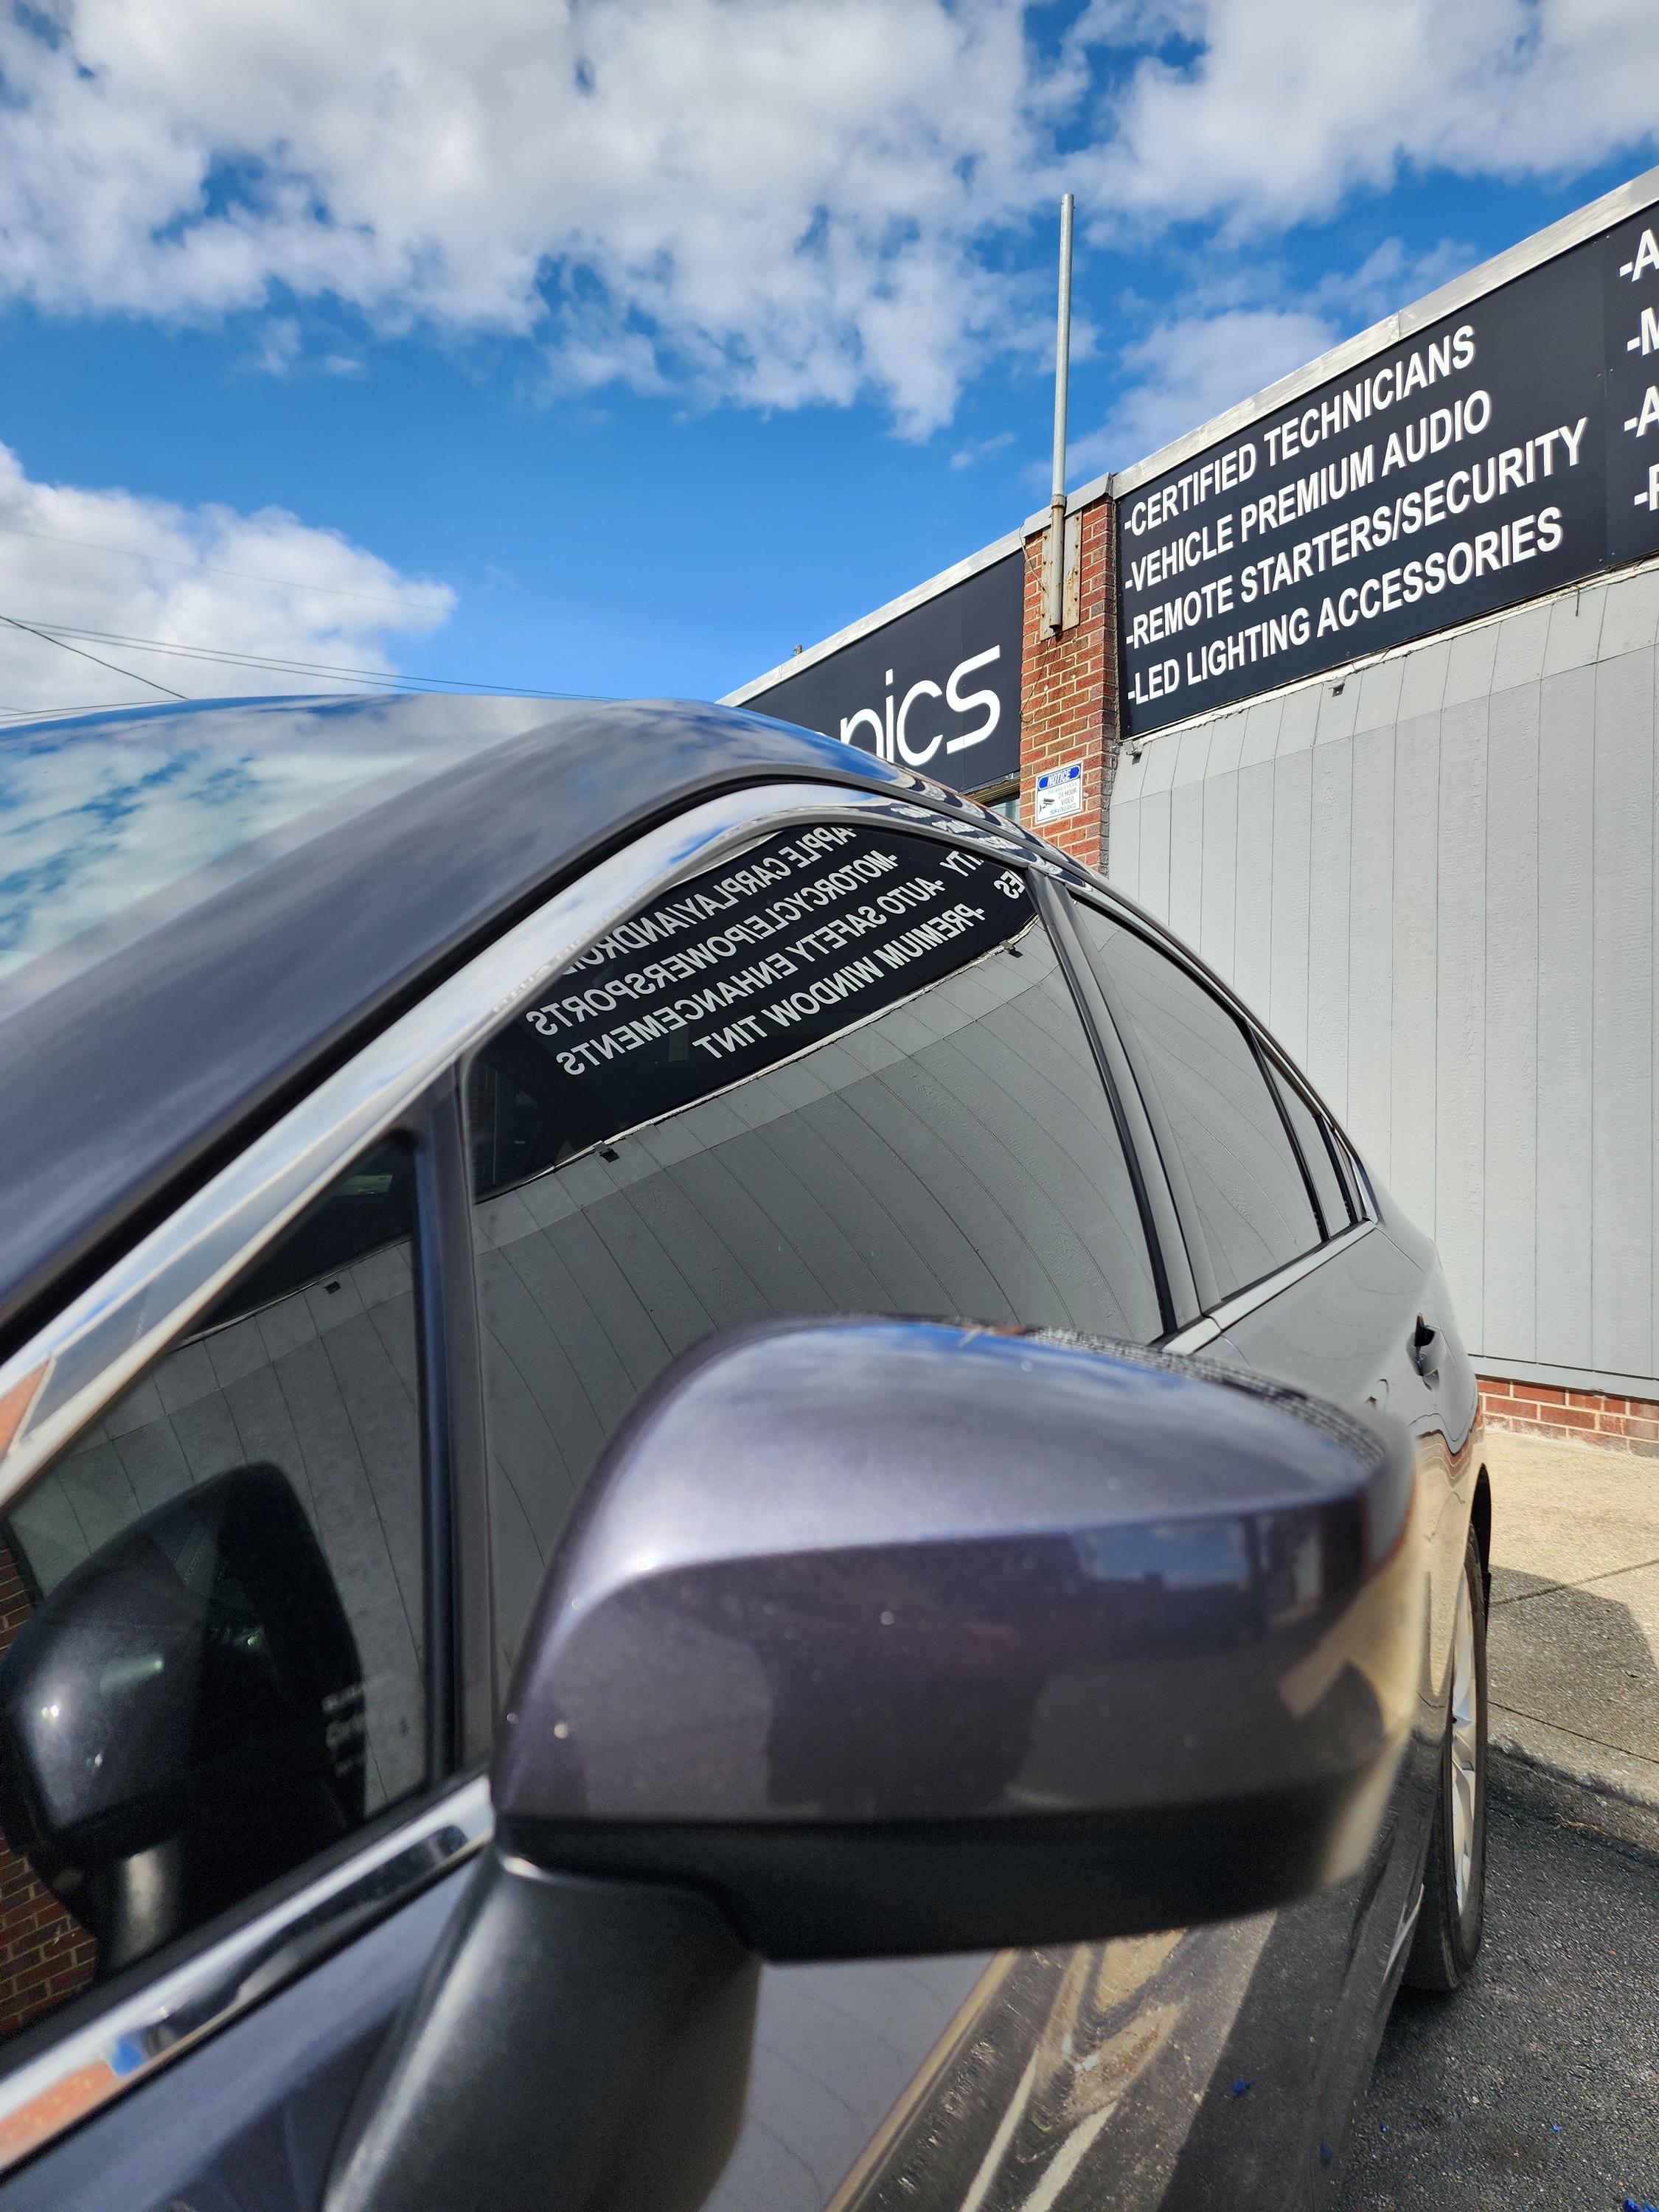
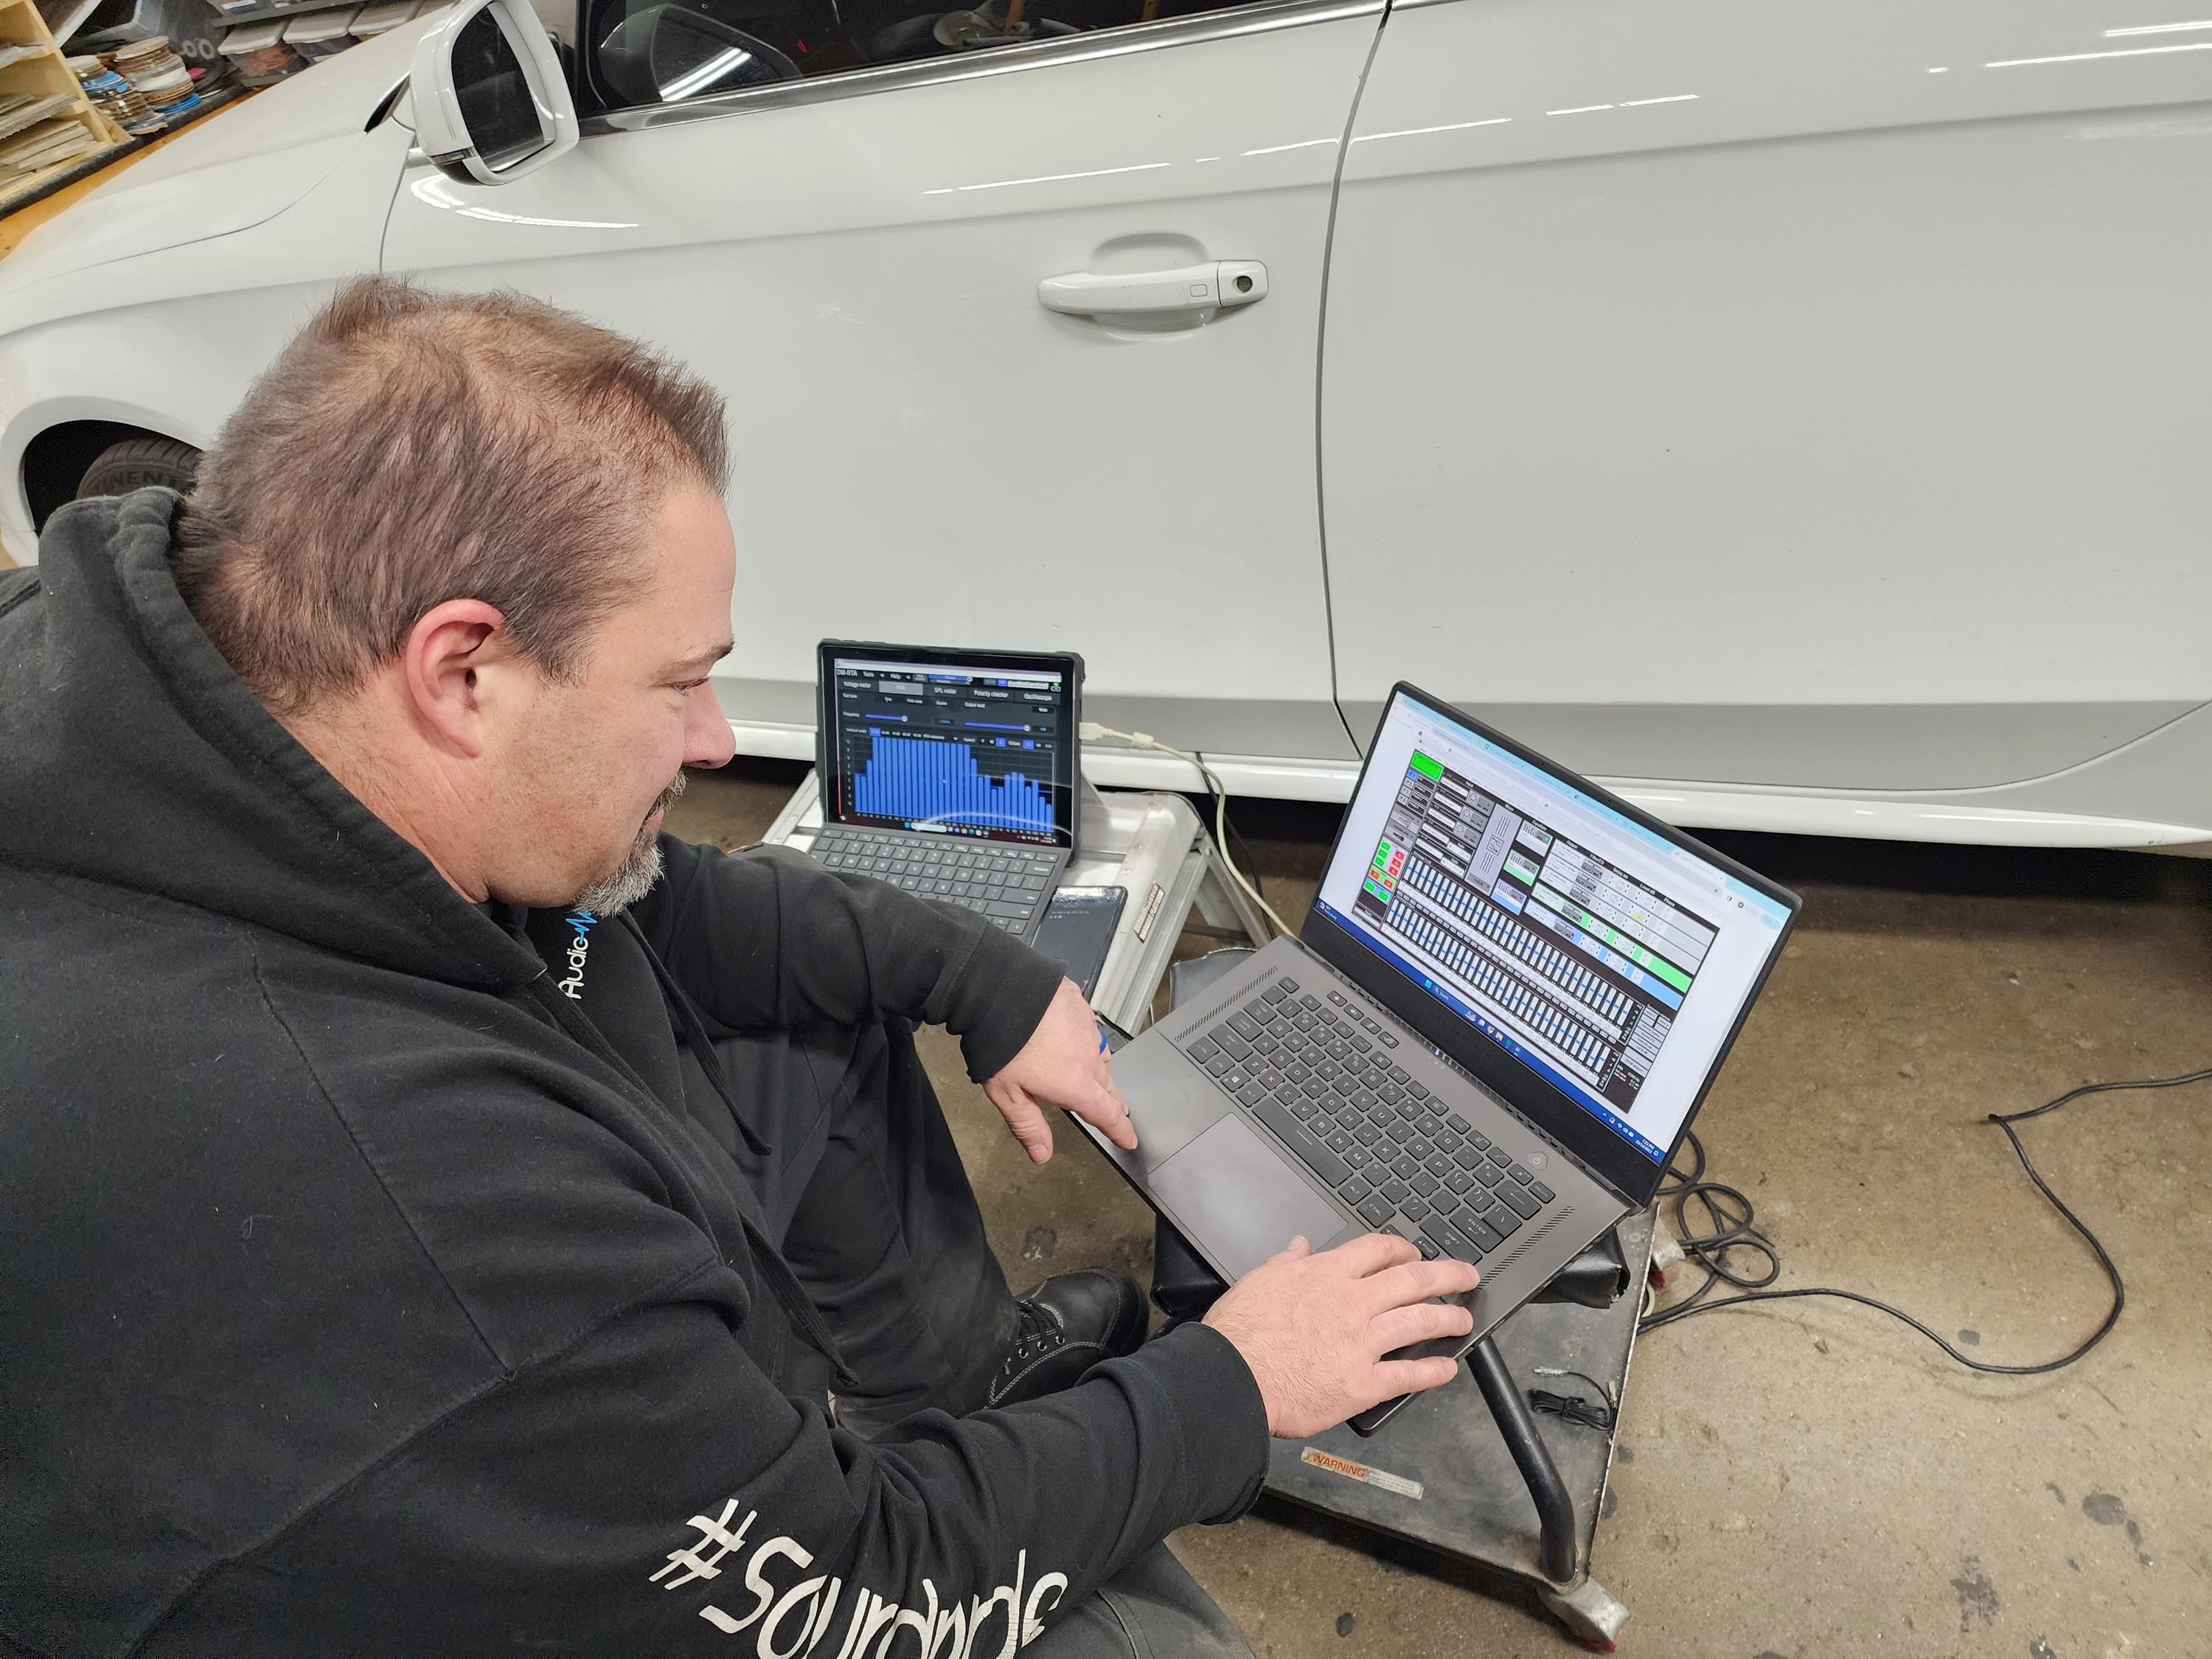
Getting your EV car audio upgrade Indianapolis professionals handle is worth every penny. Experienced installers know exactly how to tap into your vehicle’s electrical system safely. They understand which circuits to use and which ones to avoid.
Professional shops also carry insurance and stand behind their work. If something goes wrong, you’re covered. Try to DIY it and cause an electrical problem? That’s on you, and yes, that could affect your warranty coverage.
Look for installers who have specific experience with Teslas and other EVs. These vehicles have unique electrical systems that differ from traditional cars. You want someone who knows where the 12-volt system connects, how to access the factory amp, and how to integrate new equipment without triggering error messages.
Real-World Examples of Successful EV Audio Upgrades
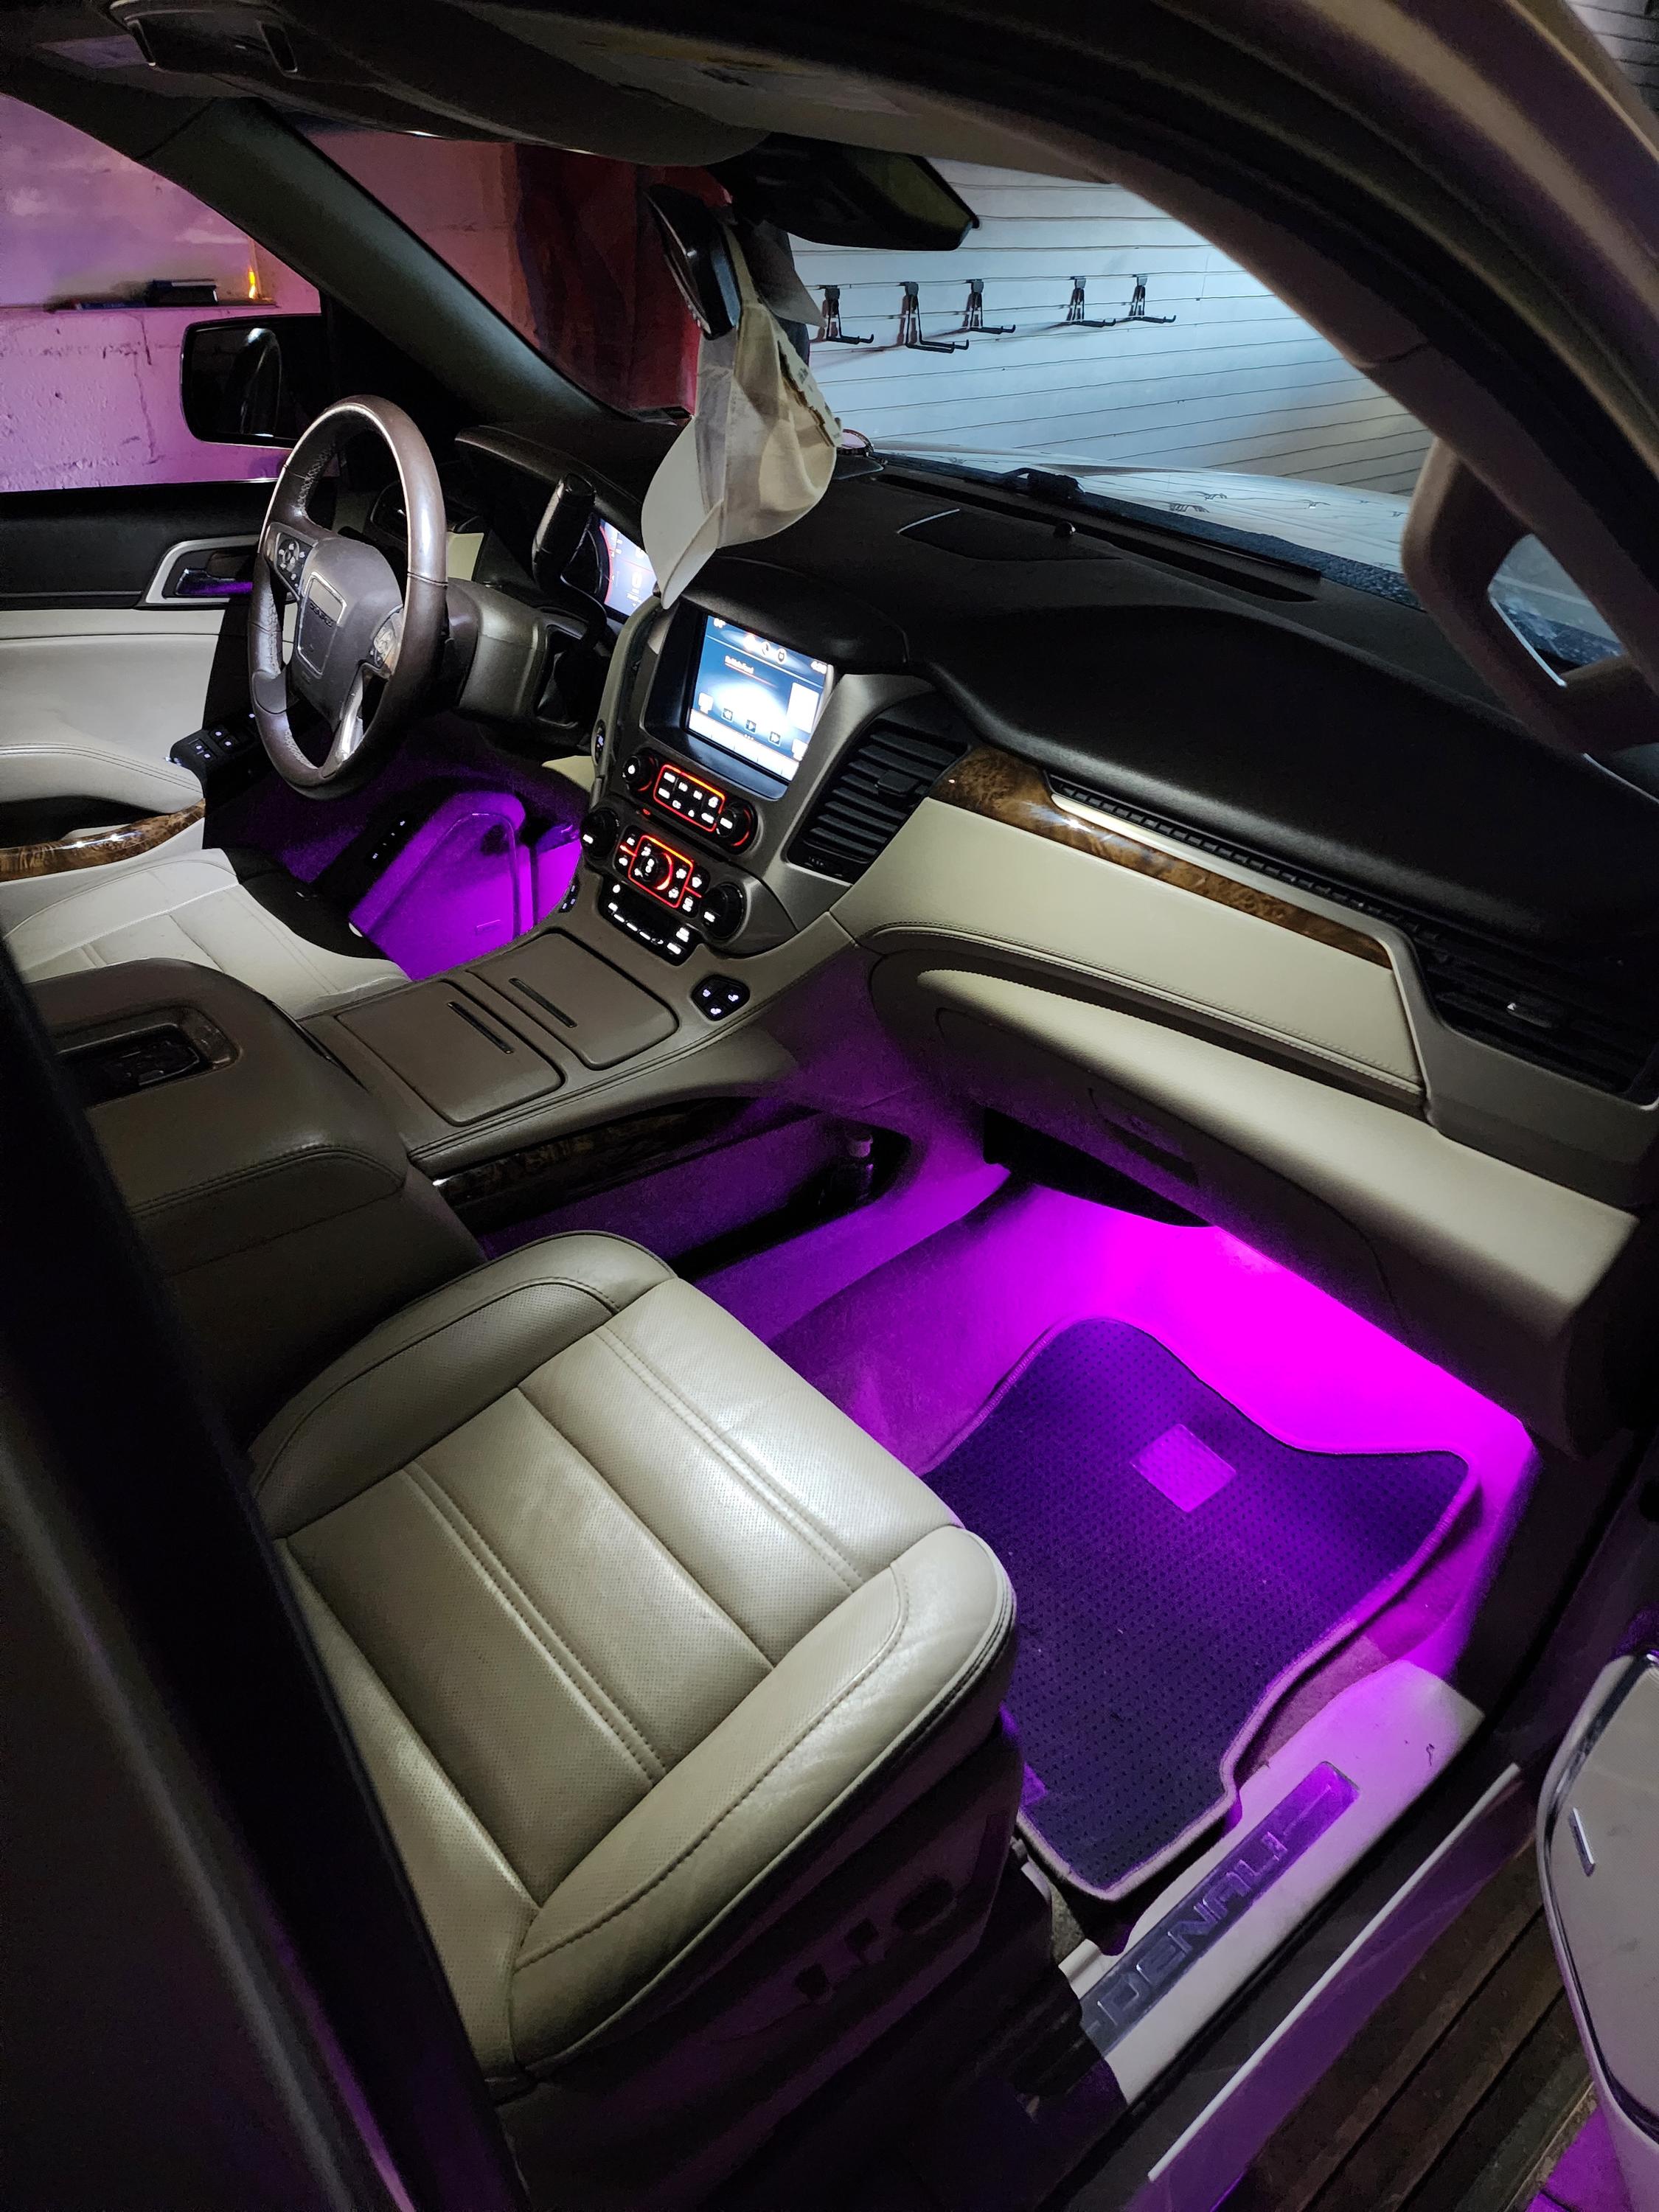
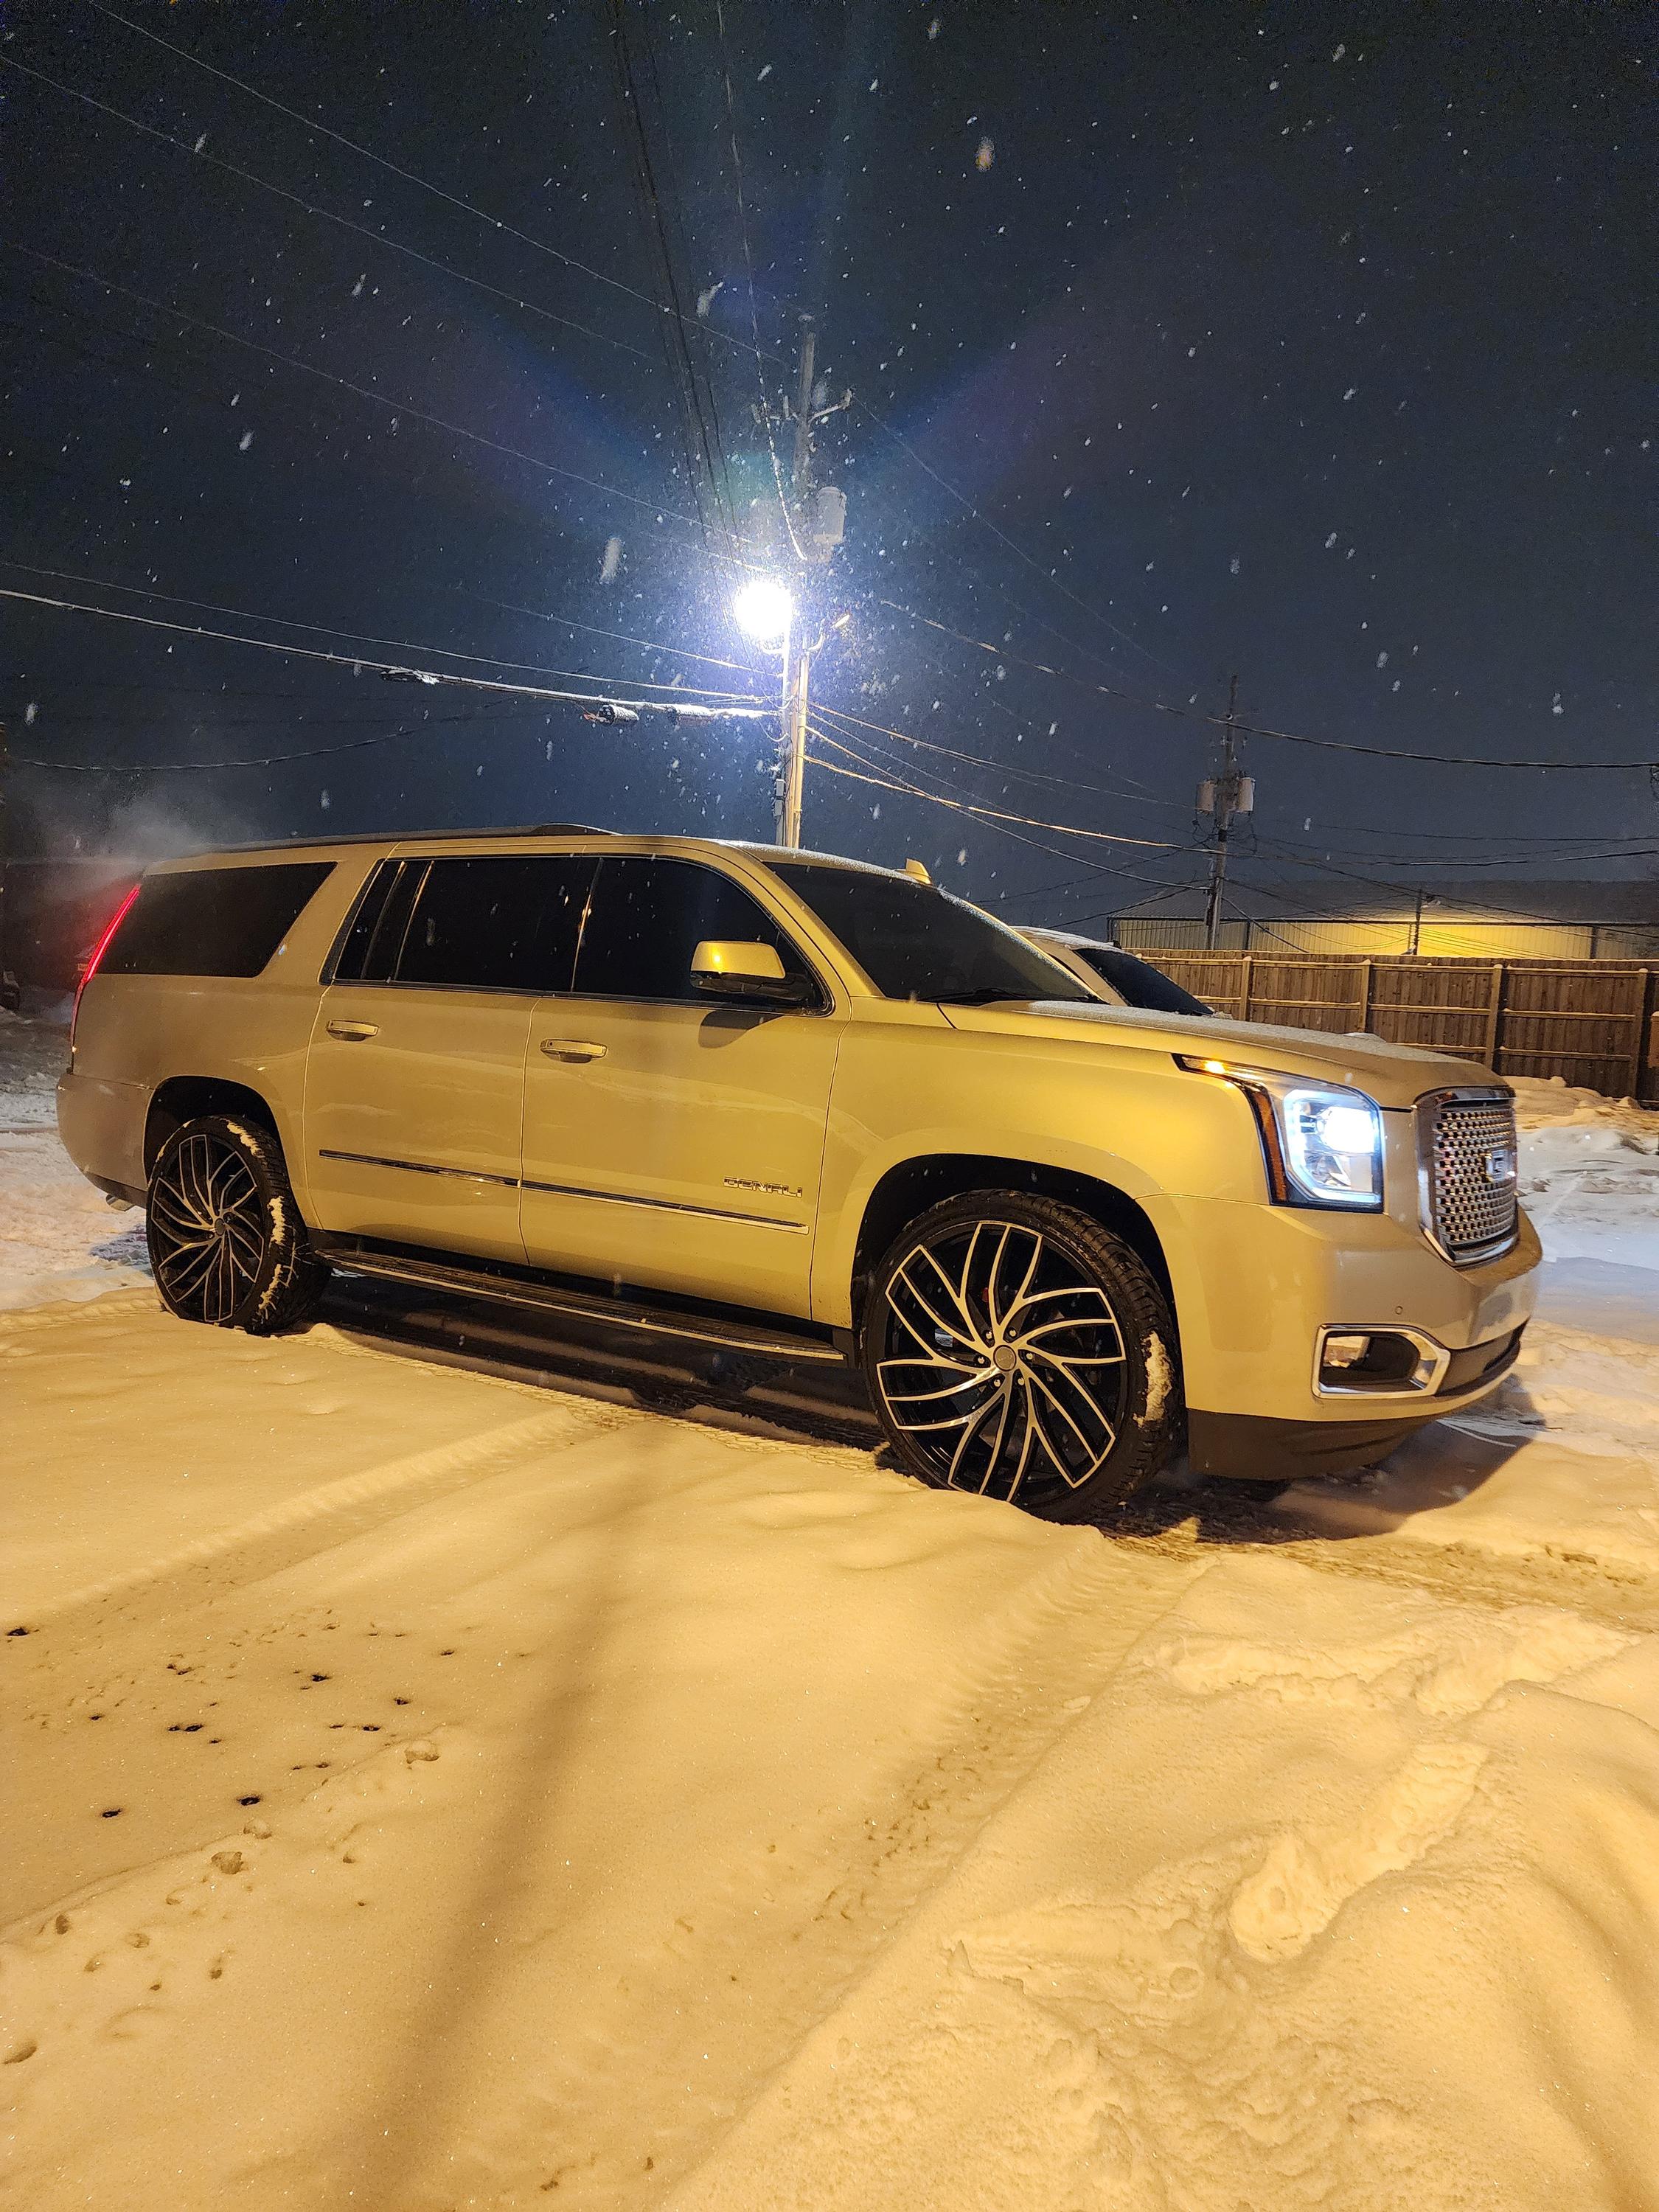
The Carmel Tesla Model 3 Build
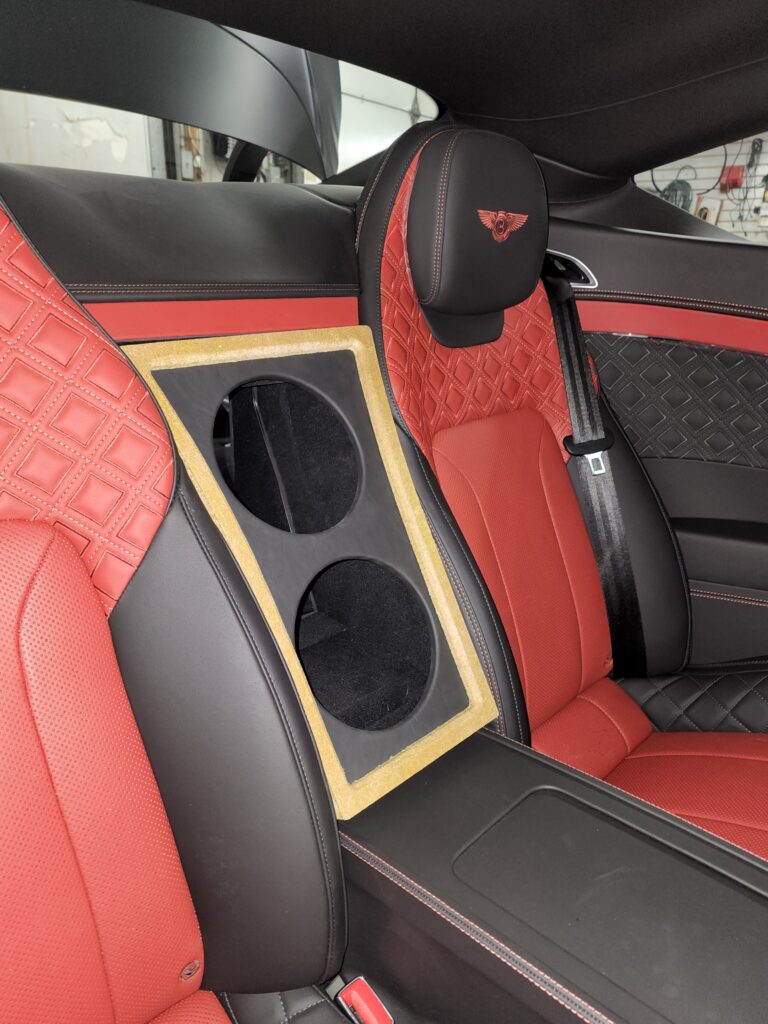
One of our customers from Carmel wanted better bass in his Model 3 but was worried about range loss. We installed a single 10-inch subwoofer with a 400-watt Class D amp and upgraded his door speakers with components that had higher sensitivity ratings.
The result? He got the sound quality he wanted, and his range decreased by less than 1%. He couldn’t even measure the difference in his normal driving. The system sounds amazing, and he’s never once regretted the upgrade.
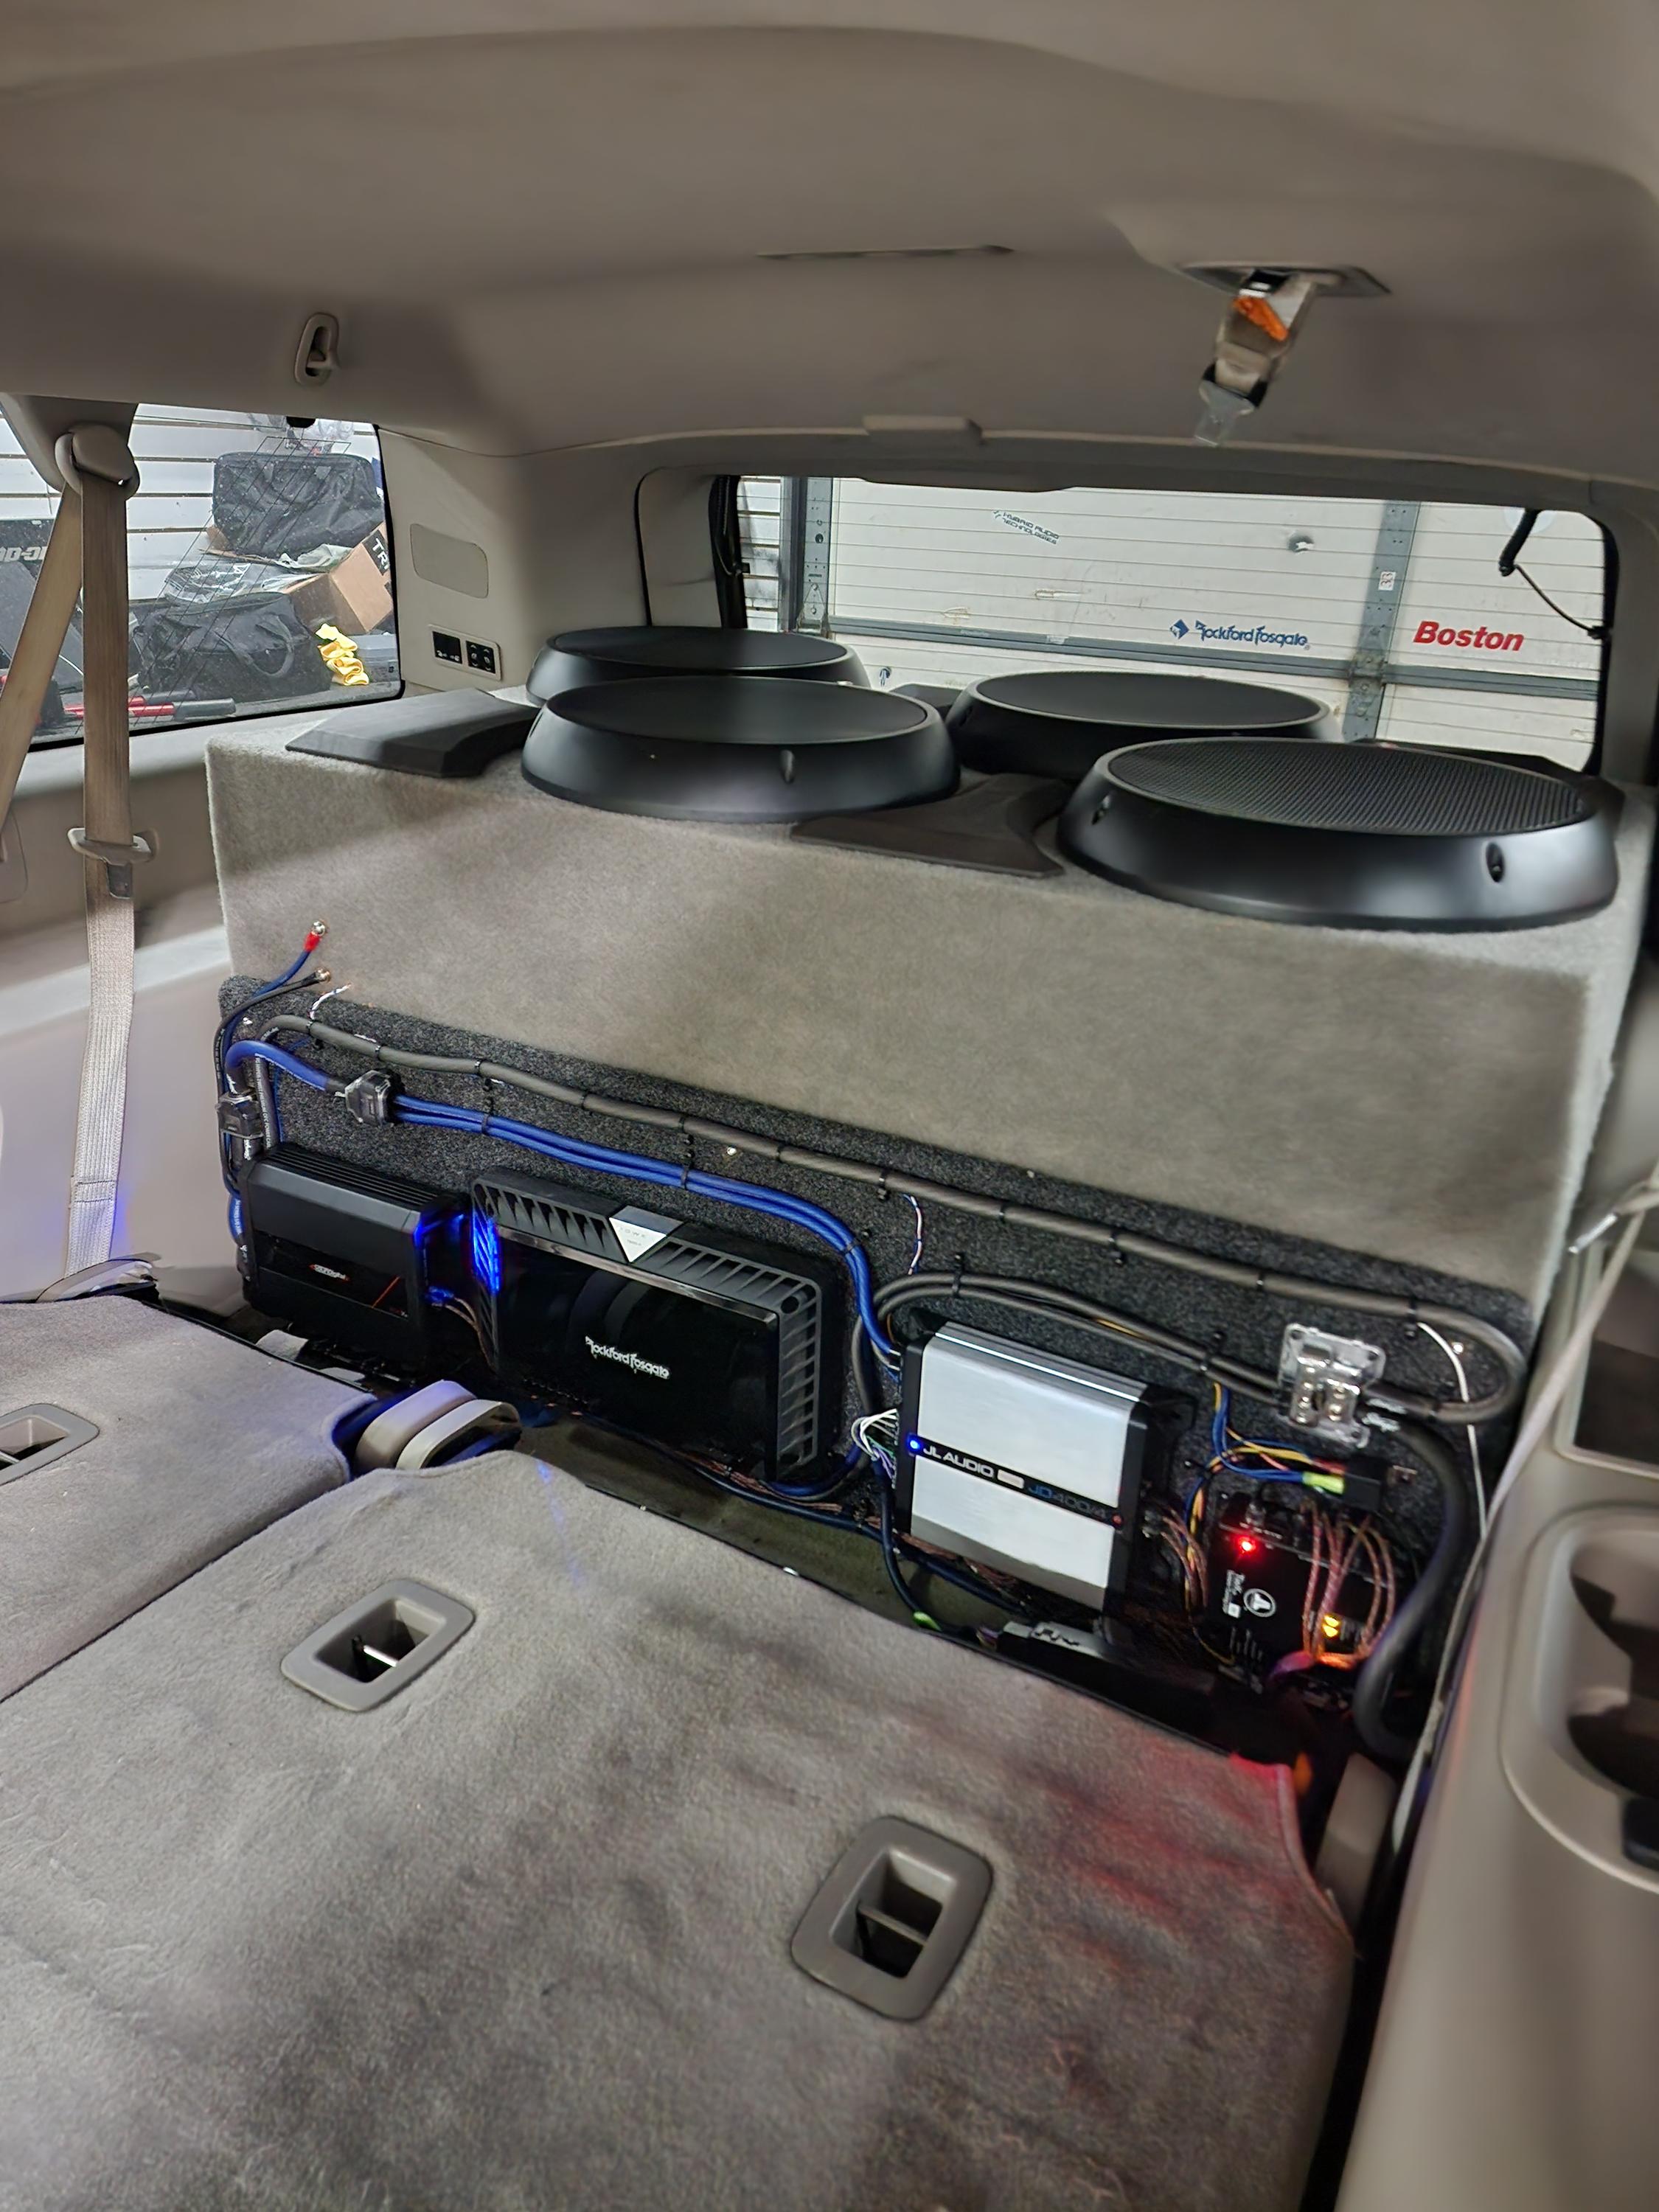
The Fishers Rivian R1T Project
A Rivian owner from Fishers wanted a complete system overhaul. We’re talking new speakers all around, a DSP amplifier for sound tuning, and a compact powered subwoofer. The total power draw at normal listening levels? About 150 watts.
His Rivian’s massive battery pack didn’t even notice. He still gets his expected range, and the sound quality is night and day compared to stock. Plus, because we used all plug-and-play connections, his warranty stays intact.
The Zionsville Hybrid SUV Upgrade
Not everyone drives a full EV. We worked with a hybrid SUV owner from Zionsville who wanted better sound for her daily commute. The challenge with hybrids is that they switch between electric and gas power, so the audio system needs to work well in both modes.
We installed efficient component speakers and a small amplifier that draws minimal power. When she’s in electric mode, the system works perfectly without taxing the battery. When the gas engine kicks in, the alternator easily handles the load. It’s the best of both worlds.
Technical Considerations for Power Consumption Car Audio Electric Vehicle Installations
Understanding Your EV’s Electrical Architecture
Your Tesla or hybrid has two separate electrical systems: a high-voltage system (300 to 400 volts) that powers the motors and a low-voltage system (12 volts) that powers accessories like your audio system. Your car audio upgrade only touches the 12-volt system.
The 12-volt battery in your EV gets charged from the main battery pack through a DC-to-DC converter. This system is designed to handle accessory loads, including aftermarket audio equipment. As long as you don’t go crazy with power-hungry components, you’ll be fine.
Most EVs can handle an additional 50 to 100 amps of accessory draw without any issues. A typical hybrid vehicle stereo upgrade might use 10 to 20 amps at peak output. You’ve got plenty of headroom.
Proper Wiring and Fusing
This is where professional installation really matters. Your audio system needs proper gauge wiring and appropriate fuses to protect both the equipment and your vehicle.
For a system drawing up to 500 watts, you’ll want 8-gauge power wire. Bigger systems might need 4-gauge or even larger. The installer should connect directly to the 12-volt battery with an inline fuse located within 18 inches of the battery connection.
Ground connections are equally important. A poor ground can cause all sorts of problems, from noise in your audio to potential electrical issues. Professional installers know exactly where to make solid ground connections in your specific vehicle.
Maximizing Sound Quality While Minimizing Power Use
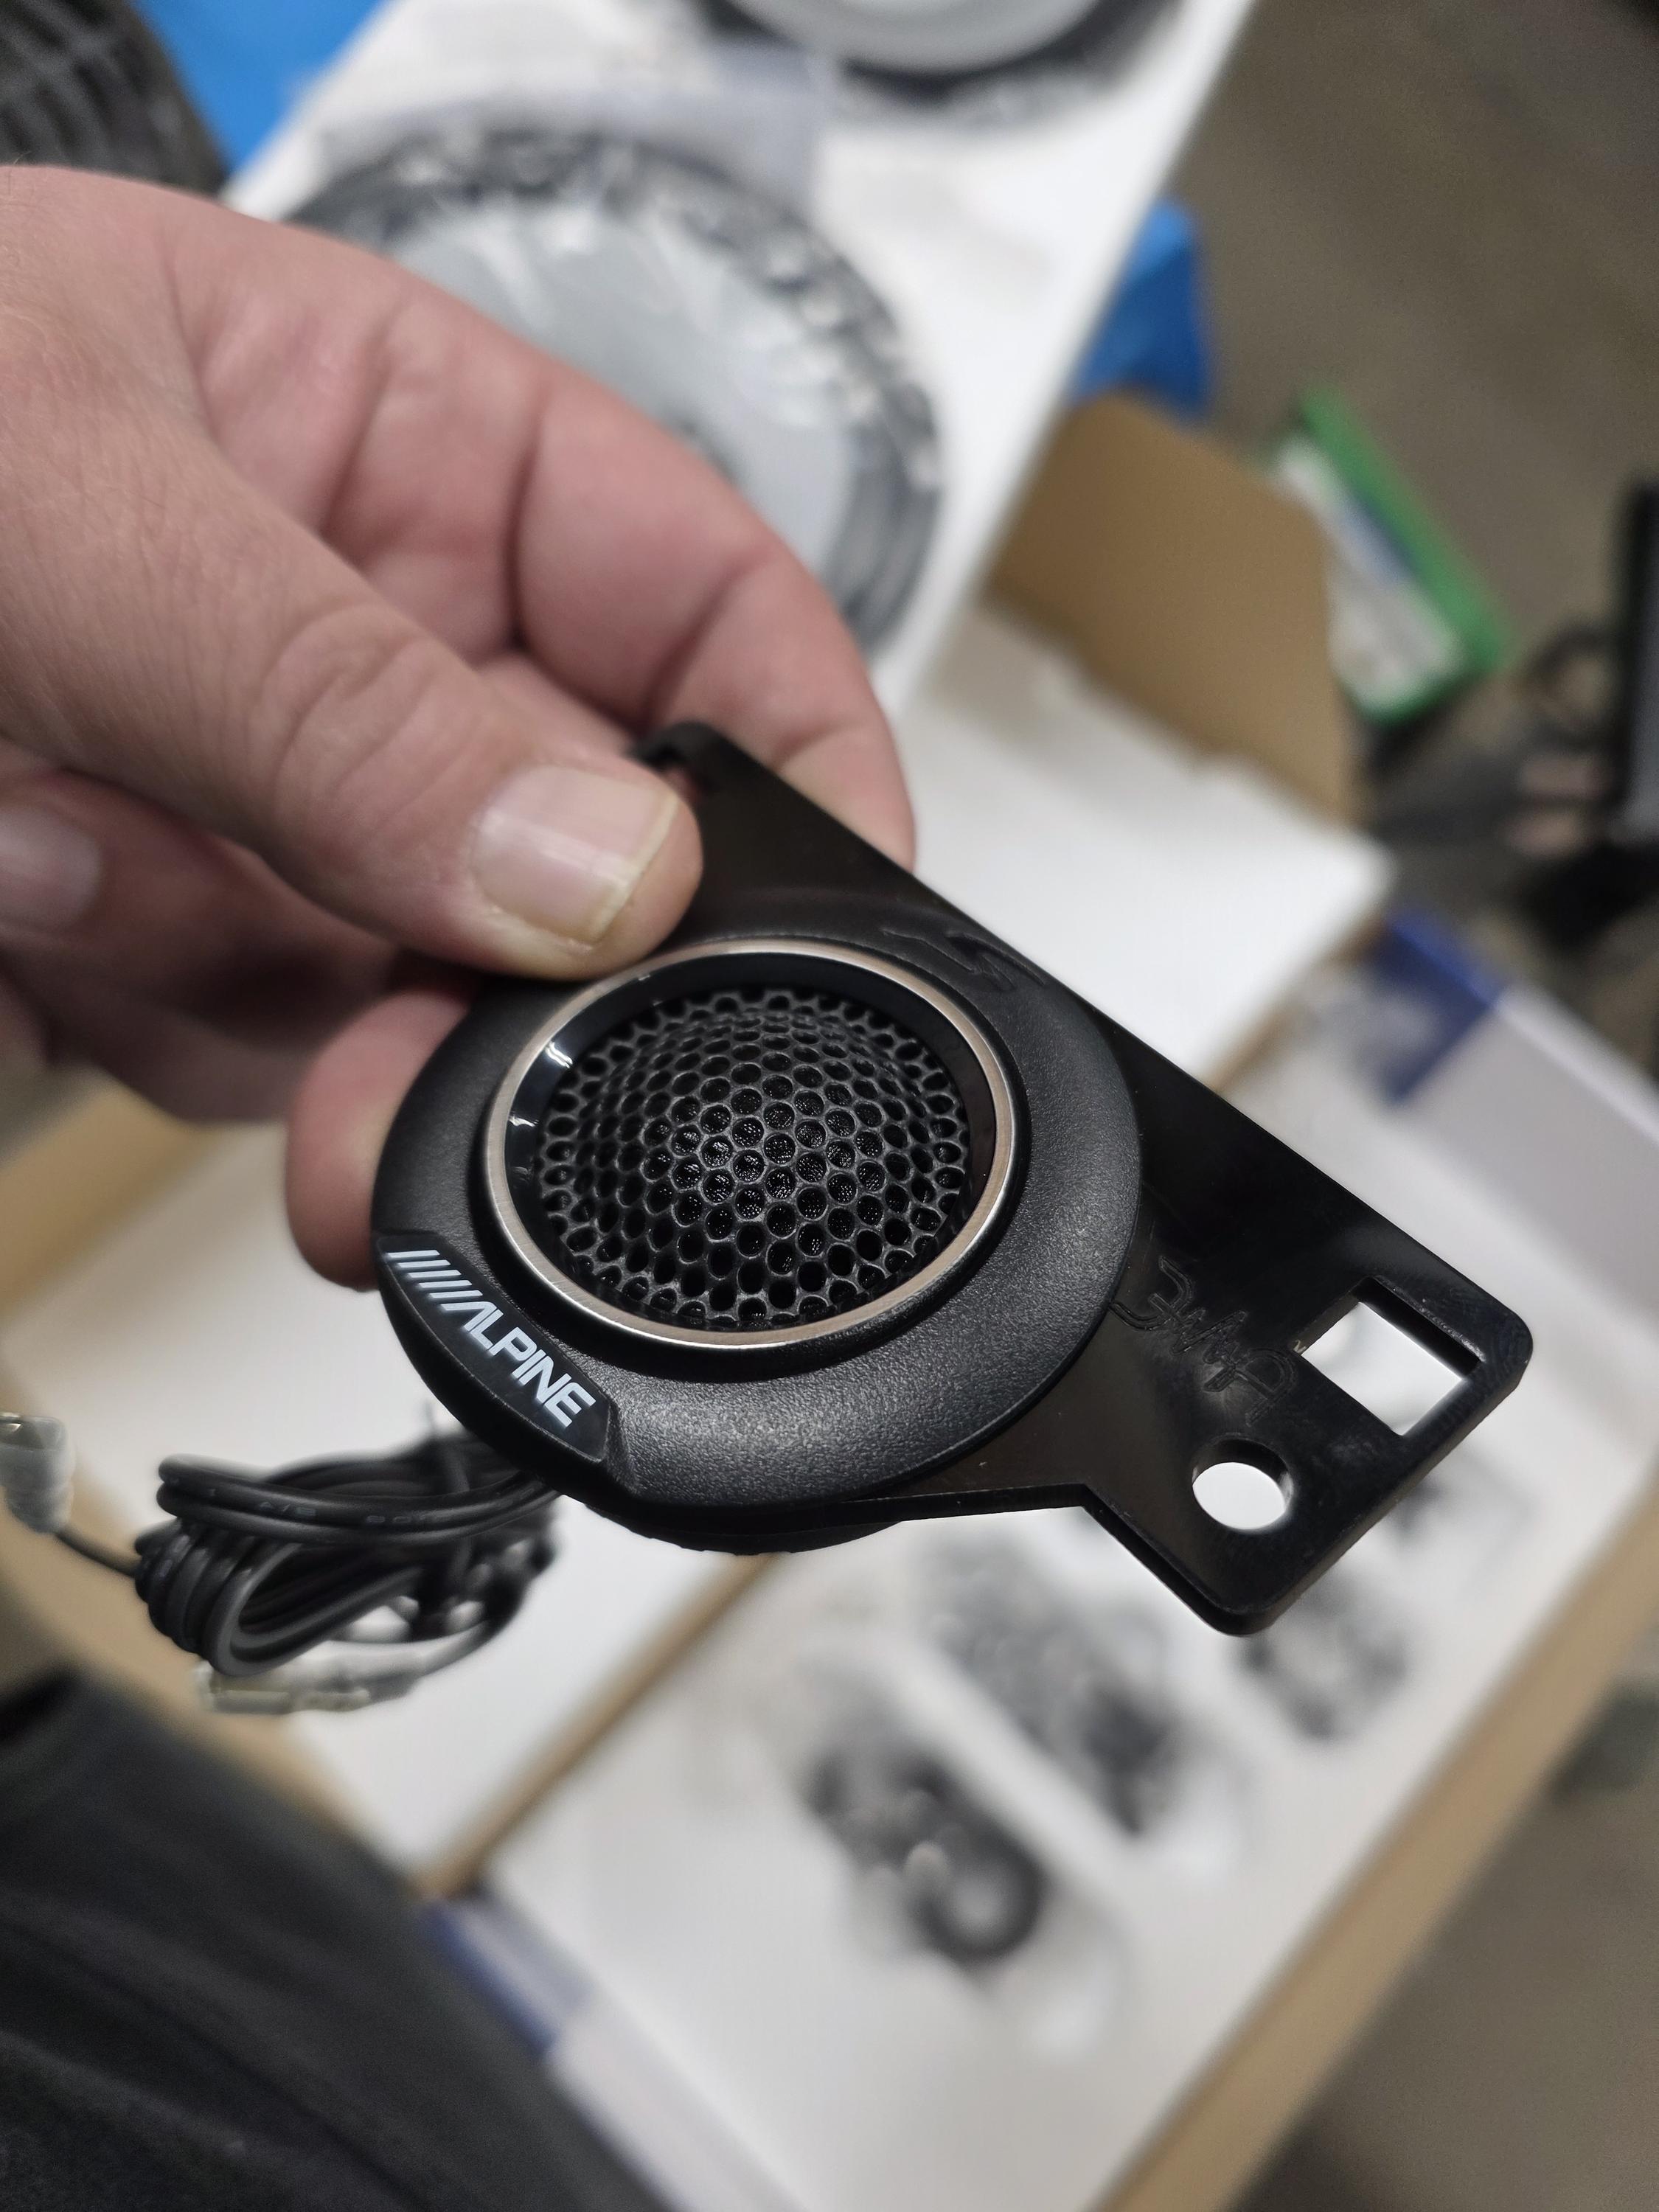
Speaker Sensitivity Matters
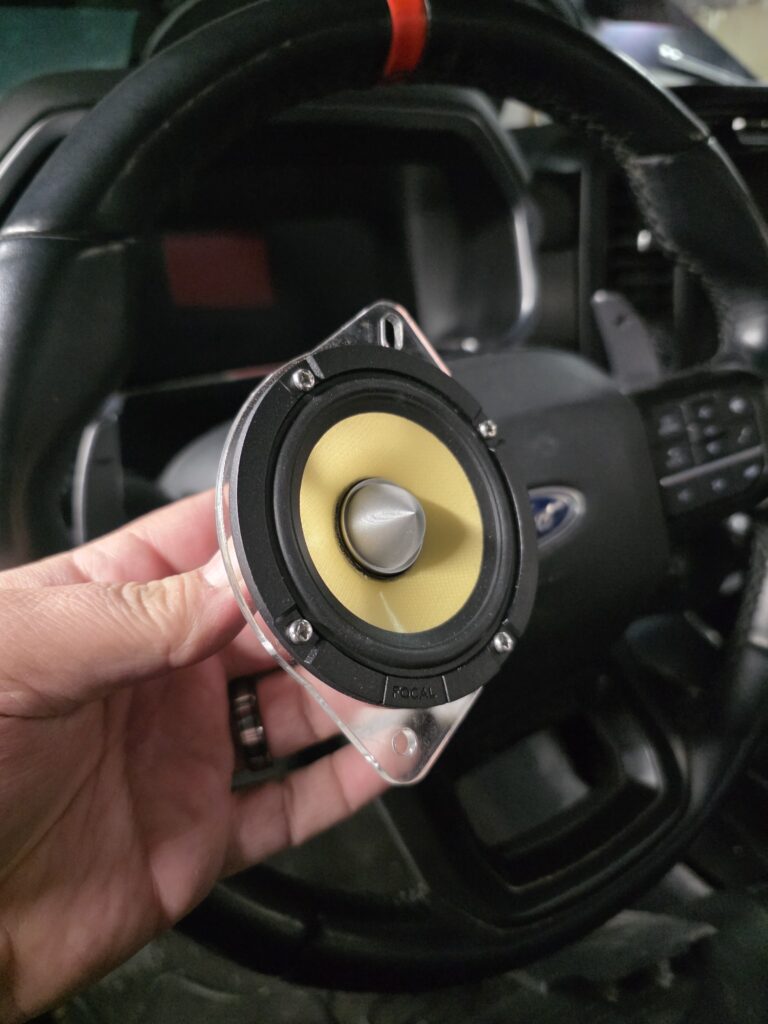
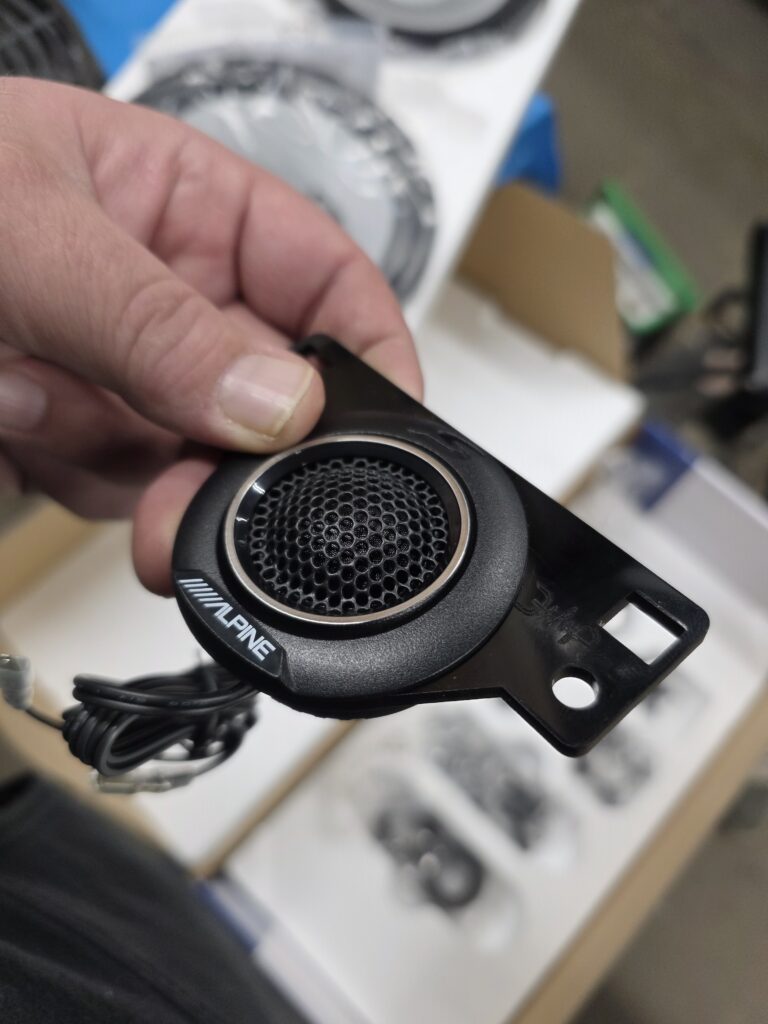
Here’s a pro tip that not everyone knows: speaker sensitivity ratings tell you how efficiently a speaker converts power into sound. A speaker rated at 90 dB sensitivity will play louder with the same power input as a speaker rated at 85 dB.
By choosing high-sensitivity speakers (88 dB or higher), you can get great volume and sound quality without needing a powerful amplifier. This is perfect for EV applications where you want to keep power consumption low.
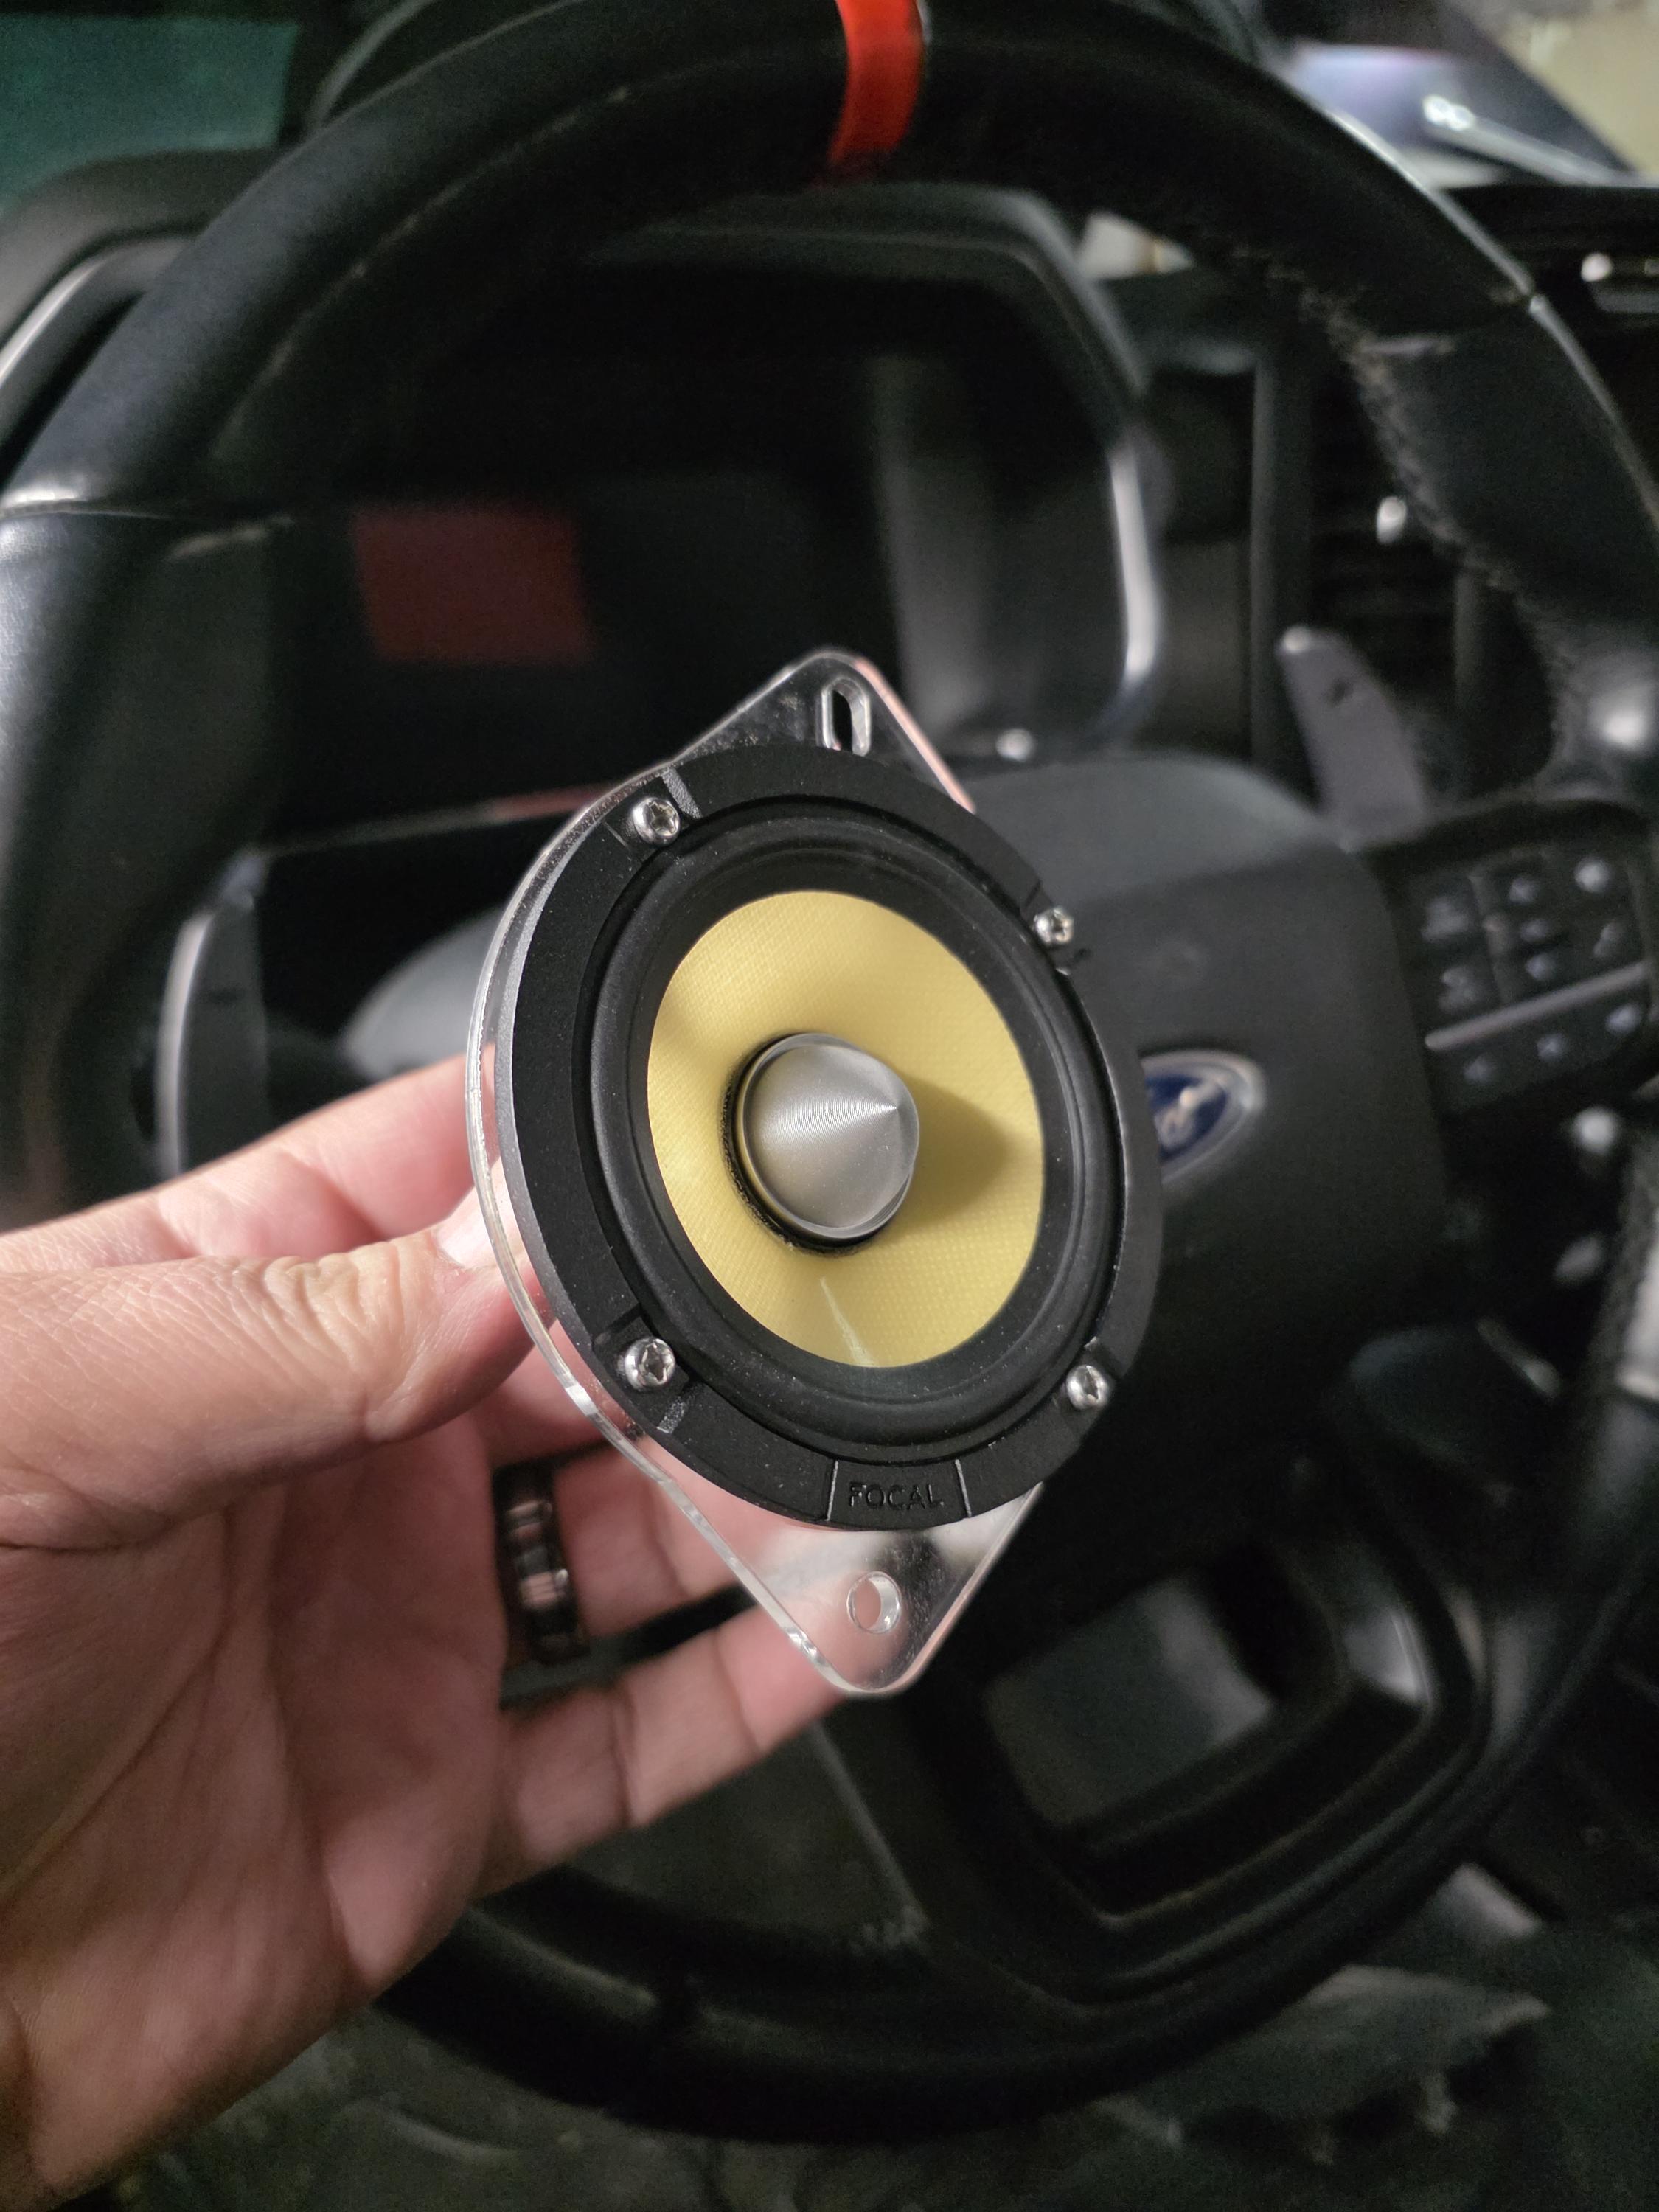
Component speakers (separate tweeters and woofers) typically offer better sensitivity than coaxial speakers. They also sound better, giving you two benefits in one upgrade.
Tuning Your System Properly
A well-tuned system sounds better at lower volumes, which means you won’t need to crank it up as much. This saves power and reduces distortion.
DSP tuning lets you adjust time alignment, equalization, and crossover points to get the best sound from your speakers’ locations in your vehicle. When your system sounds good at moderate volumes, you’re not tempted to turn it up to uncomfortable levels just to hear your music clearly.
Many modern head units and amplifiers include built-in DSP features. If you’re getting an EV car audio upgrade Indianapolis shops offer, ask about DSP tuning as part of the installation. It makes a huge difference.
Addressing Common Myths and Misconceptions
Myth: Any Audio Upgrade Will Significantly Reduce Range
We’ve already covered the math, but it’s worth repeating: a properly designed audio system will have virtually no measurable impact on your daily driving range. The power consumption is just too small compared to your battery capacity and the power used by other systems.
Think about it this way: you probably lose more range from driving with your windows down (increased drag) than you would from any reasonable audio upgrade.
Myth: You Can’t Get Good Bass Without Huge Power
This one drives me crazy because it’s so far from the truth. Good bass comes from proper speaker selection, enclosure design, and tuning. Yes, power matters, but it’s not the only factor.
A well-designed system with a quality subwoofer in the right enclosure can produce impressive bass with 300 to 500 watts. You don’t need 1,500 watts of power unless you’re entering sound competitions or trying to set off car alarms in the parking lot.
For normal listening, even in a larger vehicle, moderate power levels give you all the bass you’ll want. Your ears (and your neighbors) will thank you.
Myth: Factory Systems Are Good Enough
Look, Tesla’s premium audio option is pretty decent. But it’s not in the same league as a custom-designed system tailored to your preferences. Factory systems are compromises designed to appeal to the broadest audience at a specific price point.
An aftermarket system can be tuned specifically for the music you listen to and how you like it to sound. Want more bass? Done. Prefer a brighter, more detailed high end? Easy. Factory systems can’t give you that level of customization.
Plus, even Tesla’s upgraded audio systems have weak points. The bass is often lacking, and the sound staging isn’t always ideal. A Tesla subwoofer installation Indy professionals design can address these shortcomings while keeping power consumption minimal.
Planning Your Upgrade: A Step-by-Step Approach
Step 1: Define Your Goals
What do you want from your audio system? Better bass? Clearer vocals? Louder overall volume? More detail in your music? Be specific about what you’re trying to achieve.
Your goals will determine what components you need. If you mainly want better bass, you might only need a subwoofer and amp. If you want overall better sound quality, you might need new speakers throughout the vehicle.
Step 2: Set a Realistic Budget
Quality audio upgrades can range from a few hundred dollars to several thousand. Figure out what you’re comfortable spending before you start shopping.
Remember that installation costs are part of the equation. Professional installation for a basic system might run $200 to $500. More complex systems can cost more to install, but it’s money well spent for proper integration with your EV’s systems.
Step 3: Research Components
Look for components specifically suited to your vehicle and your goals. Read reviews, watch videos, and if possible, listen to systems in person before buying.
Pay attention to power requirements. Choose efficient components that don’t need massive amounts of power to sound good. Class D amplifiers, high-sensitivity speakers, and properly designed subwoofer enclosures are your friends.
Step 4: Find a Qualified Installer
This is crucial for EV owners. You need an installer who understands electric vehicle electrical systems. Ask potential shops about their experience with Teslas, Rivians, or whatever EV you drive.
Check reviews and ask for examples of previous EV audio installations. A good shop will be happy to show you their work and explain their process.
Step 5: Discuss Your Concerns
Be upfront about your worries regarding power consumption and warranty issues. A knowledgeable installer should be able to address these concerns with specific information about how they’ll protect your warranty and minimize power draw.
If an installer dismisses your concerns or can’t give you clear answers, find someone else. You want a shop that takes your worries seriously and has solutions ready.
Maintenance and Long-Term Considerations
Keeping Your System Running Efficiently
Once your hybrid vehicle stereo upgrade is complete, a little maintenance goes a long way. Keep your connections clean and tight. Check your amplifier’s mounting location occasionally to make sure it’s getting adequate ventilation.
Amplifiers that run hot work less efficiently and can eventually fail. Make sure your installer mounted your amp in a location with good airflow, not buried under carpet where heat can build up.
Monitoring Your Vehicle’s Systems
Most EVs have excellent monitoring systems that let you track power consumption. After your audio upgrade, keep an eye on your range for the first few weeks. You’ll quickly see that the impact is minimal.
If you do notice unusual battery drain, it could indicate a problem with the installation. A properly installed system should draw virtually no power when the vehicle is off. Any parasitic drain needs to be addressed immediately.
Future-Proofing Your Investment
Technology keeps improving. The components available today are more efficient than what was available just a few years ago. When planning your upgrade, think about whether you might want to expand the system later.
It’s easier and more cost-effective to install slightly larger power and ground wiring now than to redo everything later if you want to add another amplifier or subwoofer. Talk to your installer about your long-term plans.
Why Professional Installation Matters for EVs
The Complexity of Modern Electric Vehicles
Your Tesla or Rivian isn’t just a car with an electric motor instead of a gas engine. It’s a complex computer system on wheels. The audio system integrates with multiple vehicle networks and systems.
Professional installers have the tools and knowledge to work with these systems safely. They can access service information, wiring diagrams, and technical bulletins that tell them exactly how to integrate new equipment without causing problems.
Trying to DIY an audio upgrade in a modern EV is risky. One wrong connection could trigger error messages, cause systems to malfunction, or in worst-case scenarios, damage expensive components.
The Value of Experience
Shops that specialize in EV car audio upgrade Indianapolis installations have seen it all. They know the common pitfalls and how to avoid them. They’ve worked through the challenges specific to each vehicle model.
This experience is invaluable. They can tell you which components work best in your specific vehicle, where to mount equipment, and how to route wiring cleanly and safely. You’re paying for their knowledge as much as their labor.
Warranty and Support
Professional shops stand behind their work. If something goes wrong with your installation, they’ll fix it. They also maintain relationships with equipment manufacturers, so warranty claims on components are handled smoothly.
Try to DIY it and have a problem? You’re on your own. The time and frustration you save by having professionals handle the installation is worth the cost.
Making the Decision: Is an Audio Upgrade Right for You?
Weighing the Benefits
Better sound quality can genuinely improve your driving experience. If you spend a lot of time in your vehicle, why not make it as enjoyable as possible? Music sounds better, podcasts are clearer, and phone calls are easier to hear.
The minimal impact on range means you’re not sacrificing practicality for entertainment. You can have both.
Considering the Costs
Audio upgrades aren’t free, but they don’t have to break the bank either. A basic system upgrade with new speakers and a small amplifier might cost $800 to $1,500 installed. A more comprehensive system with a subwoofer and DSP tuning could run $2,000 to $4,000.
Compare that to the cost of your vehicle, and it’s a relatively small investment that you’ll enjoy every time you drive.
The Bottom Line
If you love music and spend time in your car, an audio upgrade makes sense. The technology exists to give you incredible sound without compromising your EV’s efficiency or voiding your warranty. You just need to approach it smartly with the right components and professional installation.
Getting Started with Your Audio Upgrade
Ready to improve your Tesla’s sound? Start by identifying what you want to achieve. Then reach out to experienced installers in the Carmel, Fishers, or Zionsville area who specialize in EV audio systems.
Ask questions, express your concerns, and get detailed proposals. A good shop will take the time to understand your needs and design a system that meets your goals without compromising your vehicle’s performance.
Your EV was designed to be efficient and high-tech. Your audio system should be too. With the right approach, you can have amazing sound and excellent range. It’s not an either-or situation.
The power consumption car audio electric vehicle systems use is minimal when designed correctly. Modern components are efficient, and professional installers know how to integrate them properly. You don’t have to choose between great sound and driving range.
So go ahead and get that audio upgrade you’ve been thinking about. Your ears will thank you, and your battery won’t even notice. That’s a win-win in anyone’s book.
Frequently Asked Questions
Will upgrading my Tesla’s audio system significantly reduce my driving range?
No, a properly designed audio system will have virtually no measurable impact on your daily driving range. A typical aftermarket system draws 50 to 200 watts at moderate volumes, compared to your battery capacity of 75,000+ watts. Even at high volumes for an hour, you might use 0.2 kWh, which is less than a mile of range. Your climate control uses far more power than any audio upgrade.
Can I void my Tesla warranty by installing aftermarket audio equipment?
Under the Magnuson-Moss Warranty Act, manufacturers cannot void your entire warranty simply because you modified one system. They would need to prove your audio upgrade directly caused a specific problem. To protect yourself further, use plug-and-play adapters and avoid cutting factory wiring, and work with professional installers who understand EV electrical systems.
How much does a professional Tesla audio upgrade typically cost?
A basic system upgrade with new speakers and a small amplifier typically costs $800 to $1,500 installed. A more comprehensive system including a subwoofer, DSP tuning, and upgraded components throughout the vehicle can run $2,000 to $4,000. Installation time usually ranges from 1 to 4 hours depending on the complexity of the system.
What should I look for in an installer for my EV audio upgrade?
Choose an installer with specific experience working on Teslas, Rivians, or other electric vehicles. They should understand EV electrical architecture, use proper plug-and-play connections to preserve warranty coverage, and be able to explain exactly how they’ll minimize power consumption. Check reviews and ask to see examples of previous EV installations they’ve completed.
Do I need a huge amplifier to get good bass in my Tesla?
No, you don’t need massive power to get quality bass. A well-designed system with a quality 10-inch or 12-inch subwoofer in the right enclosure can produce impressive bass with just 300 to 500 watts. Good bass comes from proper speaker selection, enclosure design, and tuning rather than raw power alone. Efficient components and professional tuning give you better results than simply adding more watts.